Live Twitter Feed
Blog Index

Entries in wood (5)

Wednesday
Aug012012

Wakeskate Build & Review Pt.2

**This is the 2nd part of 'Frenique Customs' Wakeskate Build & Review.  A special thanks goes out to Matthew Richardson for taking the time to put together such an in-depth and helpful post.

I enjoyed the Canada Day weekened up at my cottage on Wenona Lake in Haliburton, Ontario.  With my new wakeskate board to try out, I made sure my Dad took me for my first ride with everyone up to watch this epic moment.  I did not get up my first time - the board slipped out from my feet.  Determined to suceed, I tried once more and I got up!!!! So much stoke was happenin at this moment.  I rode side to side, over the wake and I even tried to jump and spin!!! That did not work... yet, but I got back up and tried again.  

Knowing that I made my own wakeskate, and it actually worked was such an awesome feeling.  In the end, I learned a lot from the choices I made and now feel like the options are endless!

My 4 ply board was light, and unfortunately turned out to be a bit too thin.  I left it on my dock for the day, used it to jump into the water and tried to ride it again later.  It turned out that I cracked the bottom layer... It has not ruined the board, but I know now that 4 layers is too thin.  I want to try and rectify this problem by adding a layer of fiberglass cloth to the bottom.  I feel like it’s worth a try and with my experience working with fibreglass, I know I can add a ton of strength.  That being said, a 6 ply board is the next thing to do on my list of things to try, so maybe that one will hold up for a longer period of time.  

With all the extra time and decisions to make, patience and determination was key... and let me tell you, it was really worth it. Try it out youself and see what you can come up with!

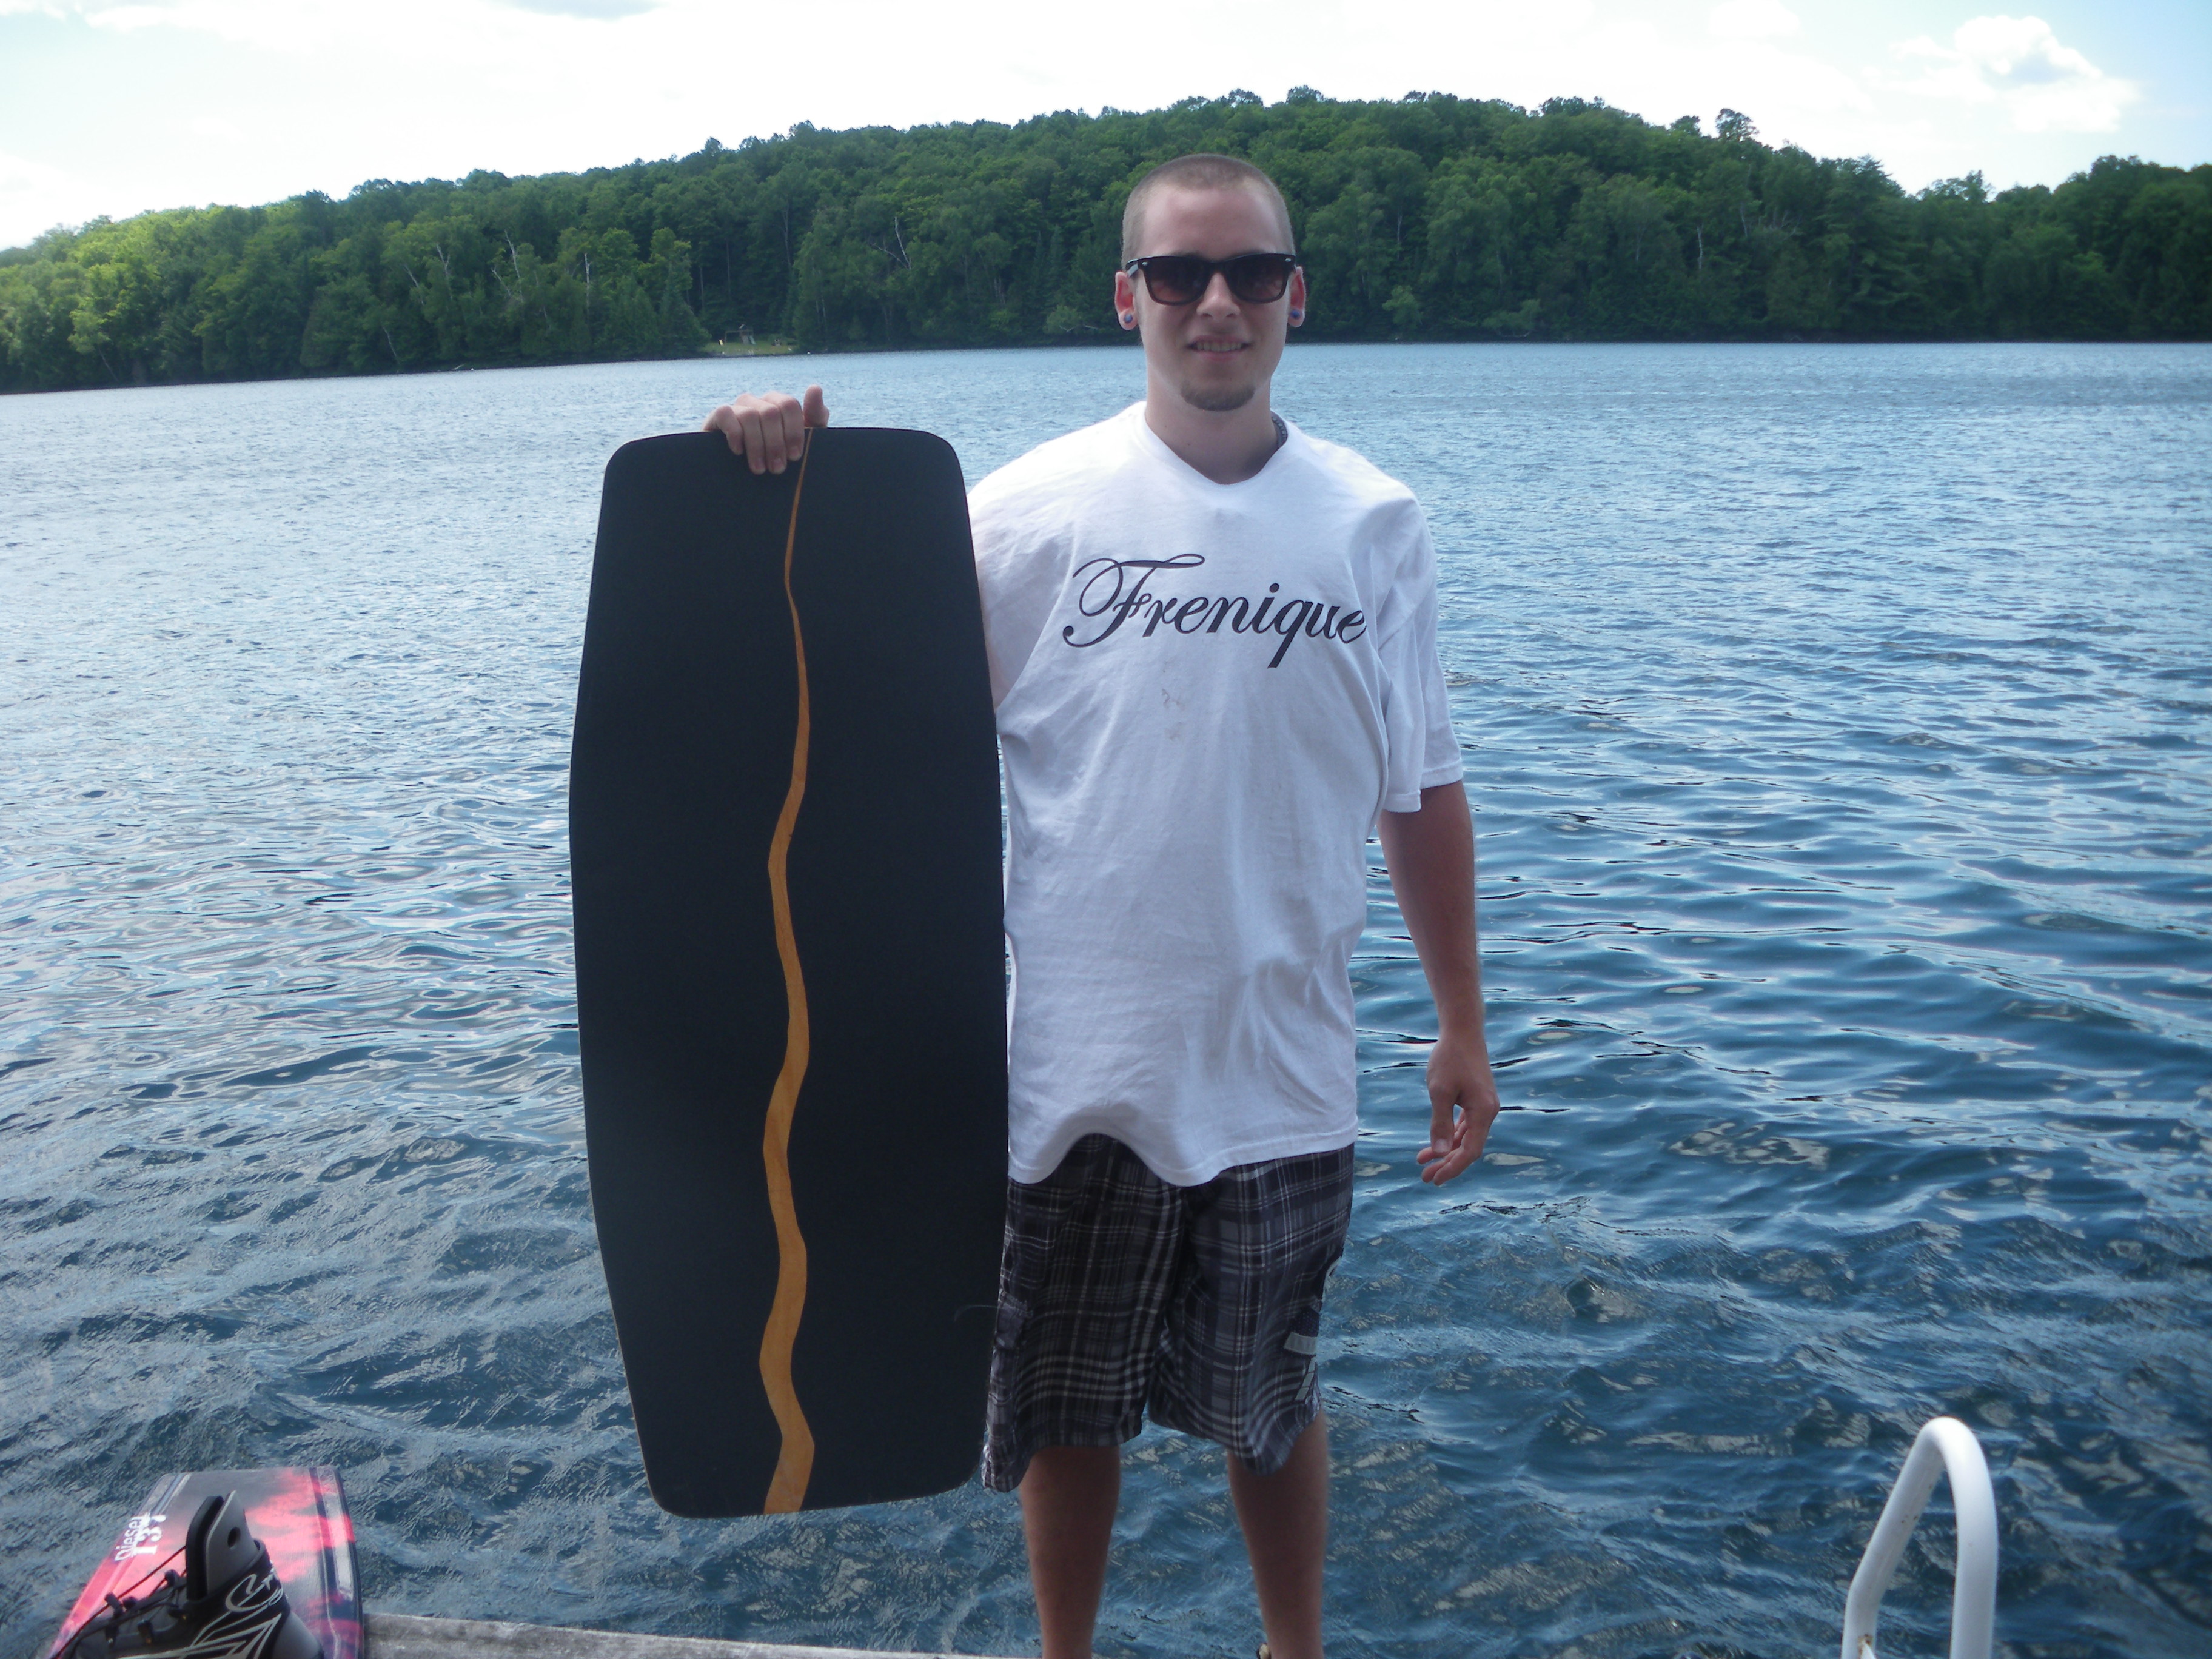
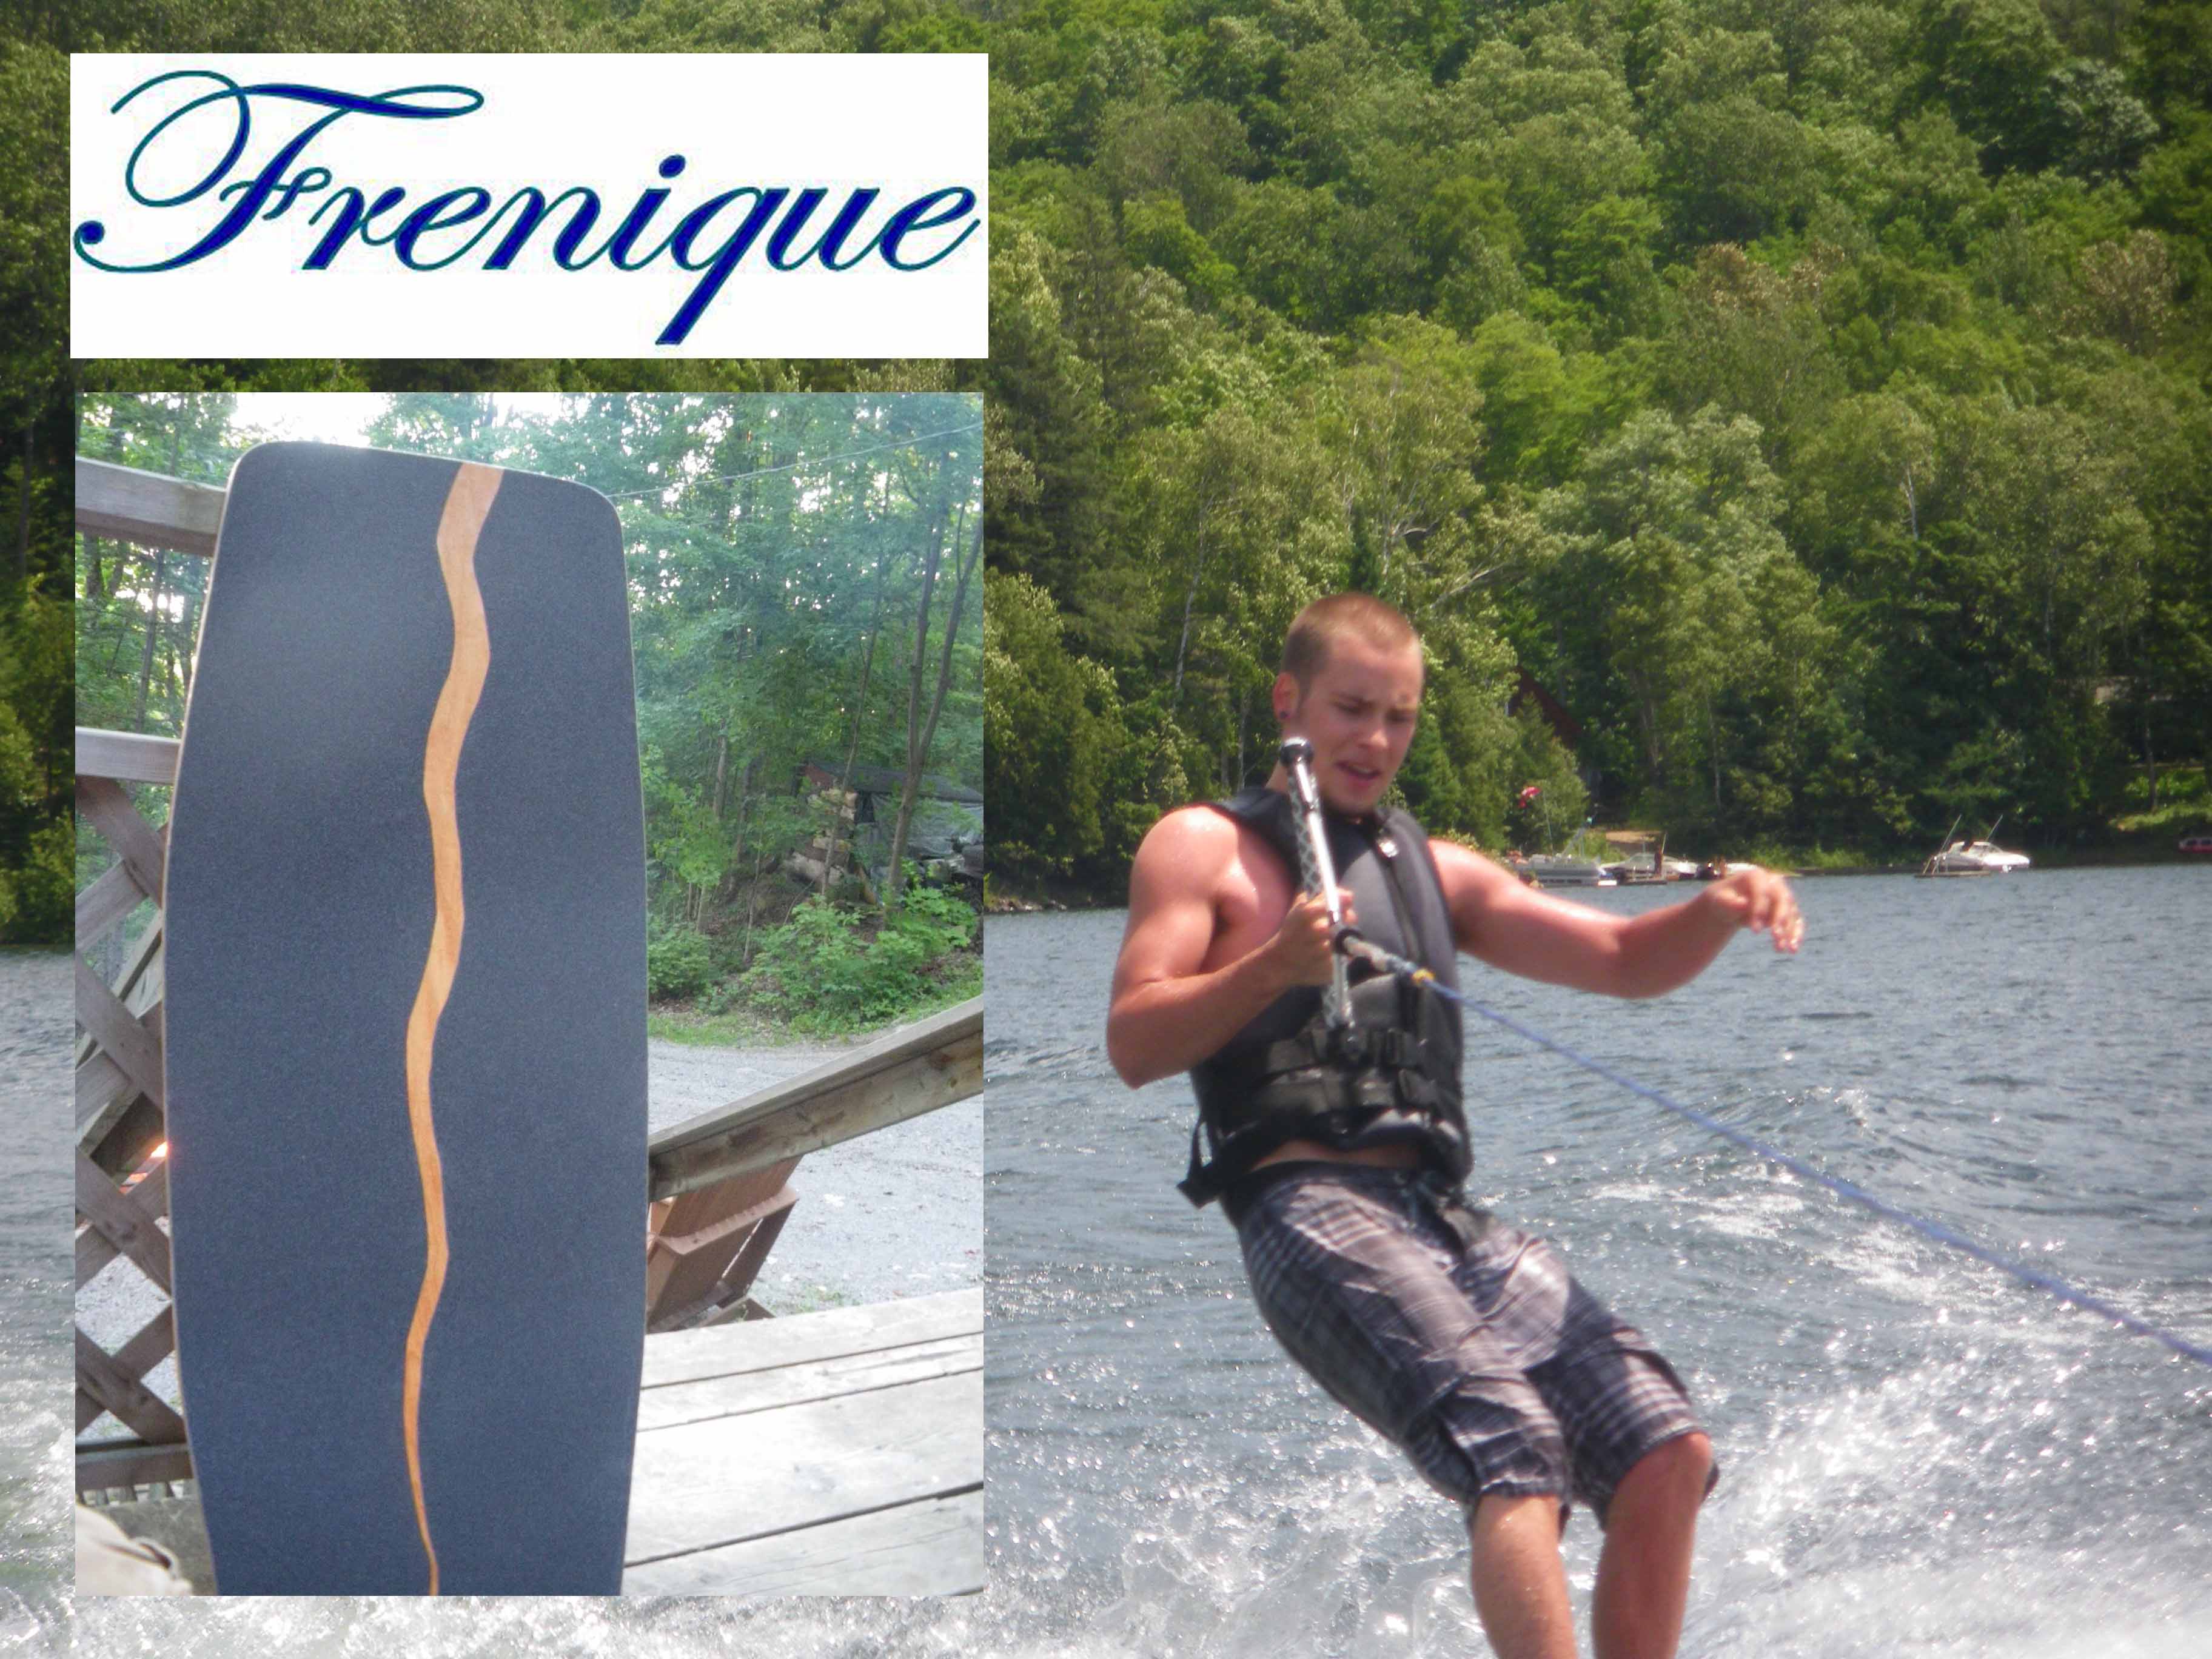
Here is some pictures of me riding my first FRENIQUE “We’re Fresh and Unique” wakeskate.

You should make sure to check out, 'like' and read Frenique Customs' profile on Facebook. They have a great story and are building some awesome things like wooden ear plugs, Muskoka chairs, cabinetry, and of course - longboards.   

Here is a cool video from the 2012 Longboard4kids event on Matthew's new Youtube feed:

Monday
Jul232012

Wakeskate Build & Review Pt.1

**The following post was written by a talented builder named Matthew Richardson, who runs a company called 'Frenique Customs' out of Pickering, ON.

“We're Fresh and Unique”
If you have made a longboard, you can make a wakeskate! How awesome is that!! 

For me, it was pretty rad to start making my own longboards, and a wakeskate is basically the same thing, only difference is that it's used on water.  

Here is some history of how I learned about wakeskating - I personally spend almost every weekend at my cottage. We have a boat and I started wakeboarding 4 years ago. A friend of mine bought a wakeskate, which is basically the same thing as a wakeboard but without bindings and you usually ride it with grip tape and an old pair of skate shoes. A lot of people look at you when you’re telling them about the sport and think that it's crazy... "your going to fall all the time!".  Yes, I may fall a lot... BUT, you’re on water dude. That doesn’t hurt like pavement. GIVE IT A TRY!!!!

The Roarockit Skateboard Company gave me the ability to use their method and products to make a solid longboard. I have made prototypes from this process, and it has led me to meet some really cool people, and some rad kids with tons of potential. I had the urge to make my own wakeskate and see how riding my own creation on the water would feel... would it work? Who knows until YOU try.
Roarockit started selling a wider veneer (24" x 48") and wider bag earlier this year, so it gave me the perfect chance to try and build my own wakeskate.  I placed an order and Chris 'Burns' Bennett (Manager of Roarockit) was nice enough to drive it to my house personally (I live on his route home luckily enough).   I met with Chris and chatted for roughly an hour as he delivered my order of 10 double-wide  sheets of Canadian Maple veneer and my 36" x 52" TAP Bag. I was going to try a 4 ply board and a 6 ply board... this review is for the 4 ply board.  

I went with a triple stage rocker, with 1.5” in total height. I wanted a large surface to ride on top of the water so I went with a 16” wide board and 41” in length. I wanted to have the sides symmetrical and the corners to be cut, but with a rounded profile to allow easier spinning and smoother cutting side to side. I own a roll of Jessup Grip tape, so I used 2 - 9” wide pieces to cover the majority of the board. 

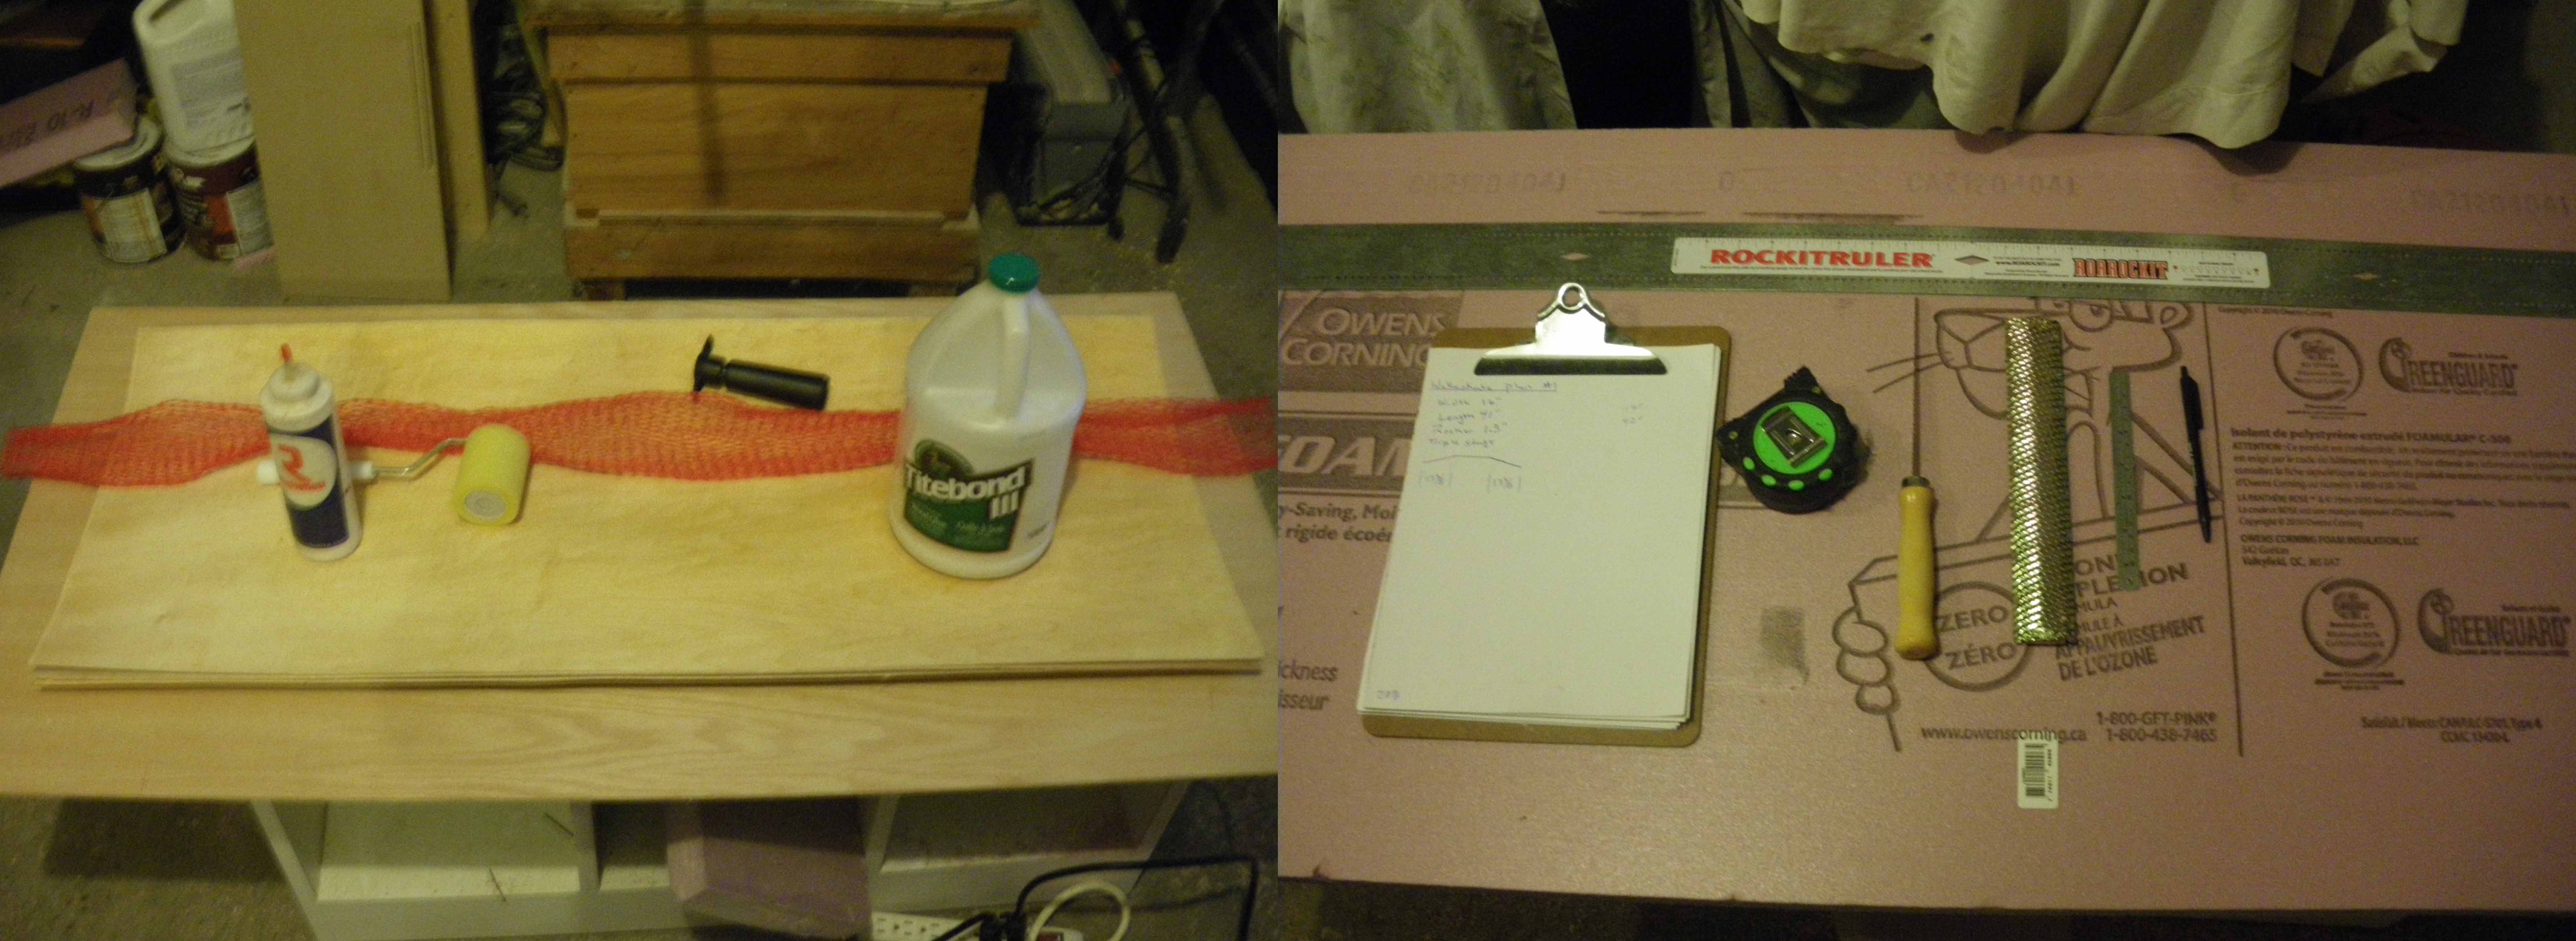
The veneers are the same Maple used in my longboards, so working with the wood and how the mold works is the same process, just a little larger than normal.  I used the same type of foam, which is the Pink rigid insulation that is 2” thick - I find it carves nice, and somewhat quick, by using a bondo rasp and then sanding to smooth out the rough cut foam. Once you draw out your wakeskate design, it is just about having a good eye, some patience and determination.  With my mold I had a lot of foam to carve compared to all my longboard designs, so it took more than double the time. I could have used a knife, but I find it to be inaccurate and prefer to use my rasp.   I added a ½” around my board mold, so I have as little as possible excess of the sides and front.  I had to cut the width of my veneer to size using my table saw, and I cut it to length using an exacto blade.   My mold and veneers are now ready to be pressed into the raddest wakeskate I have ever made!
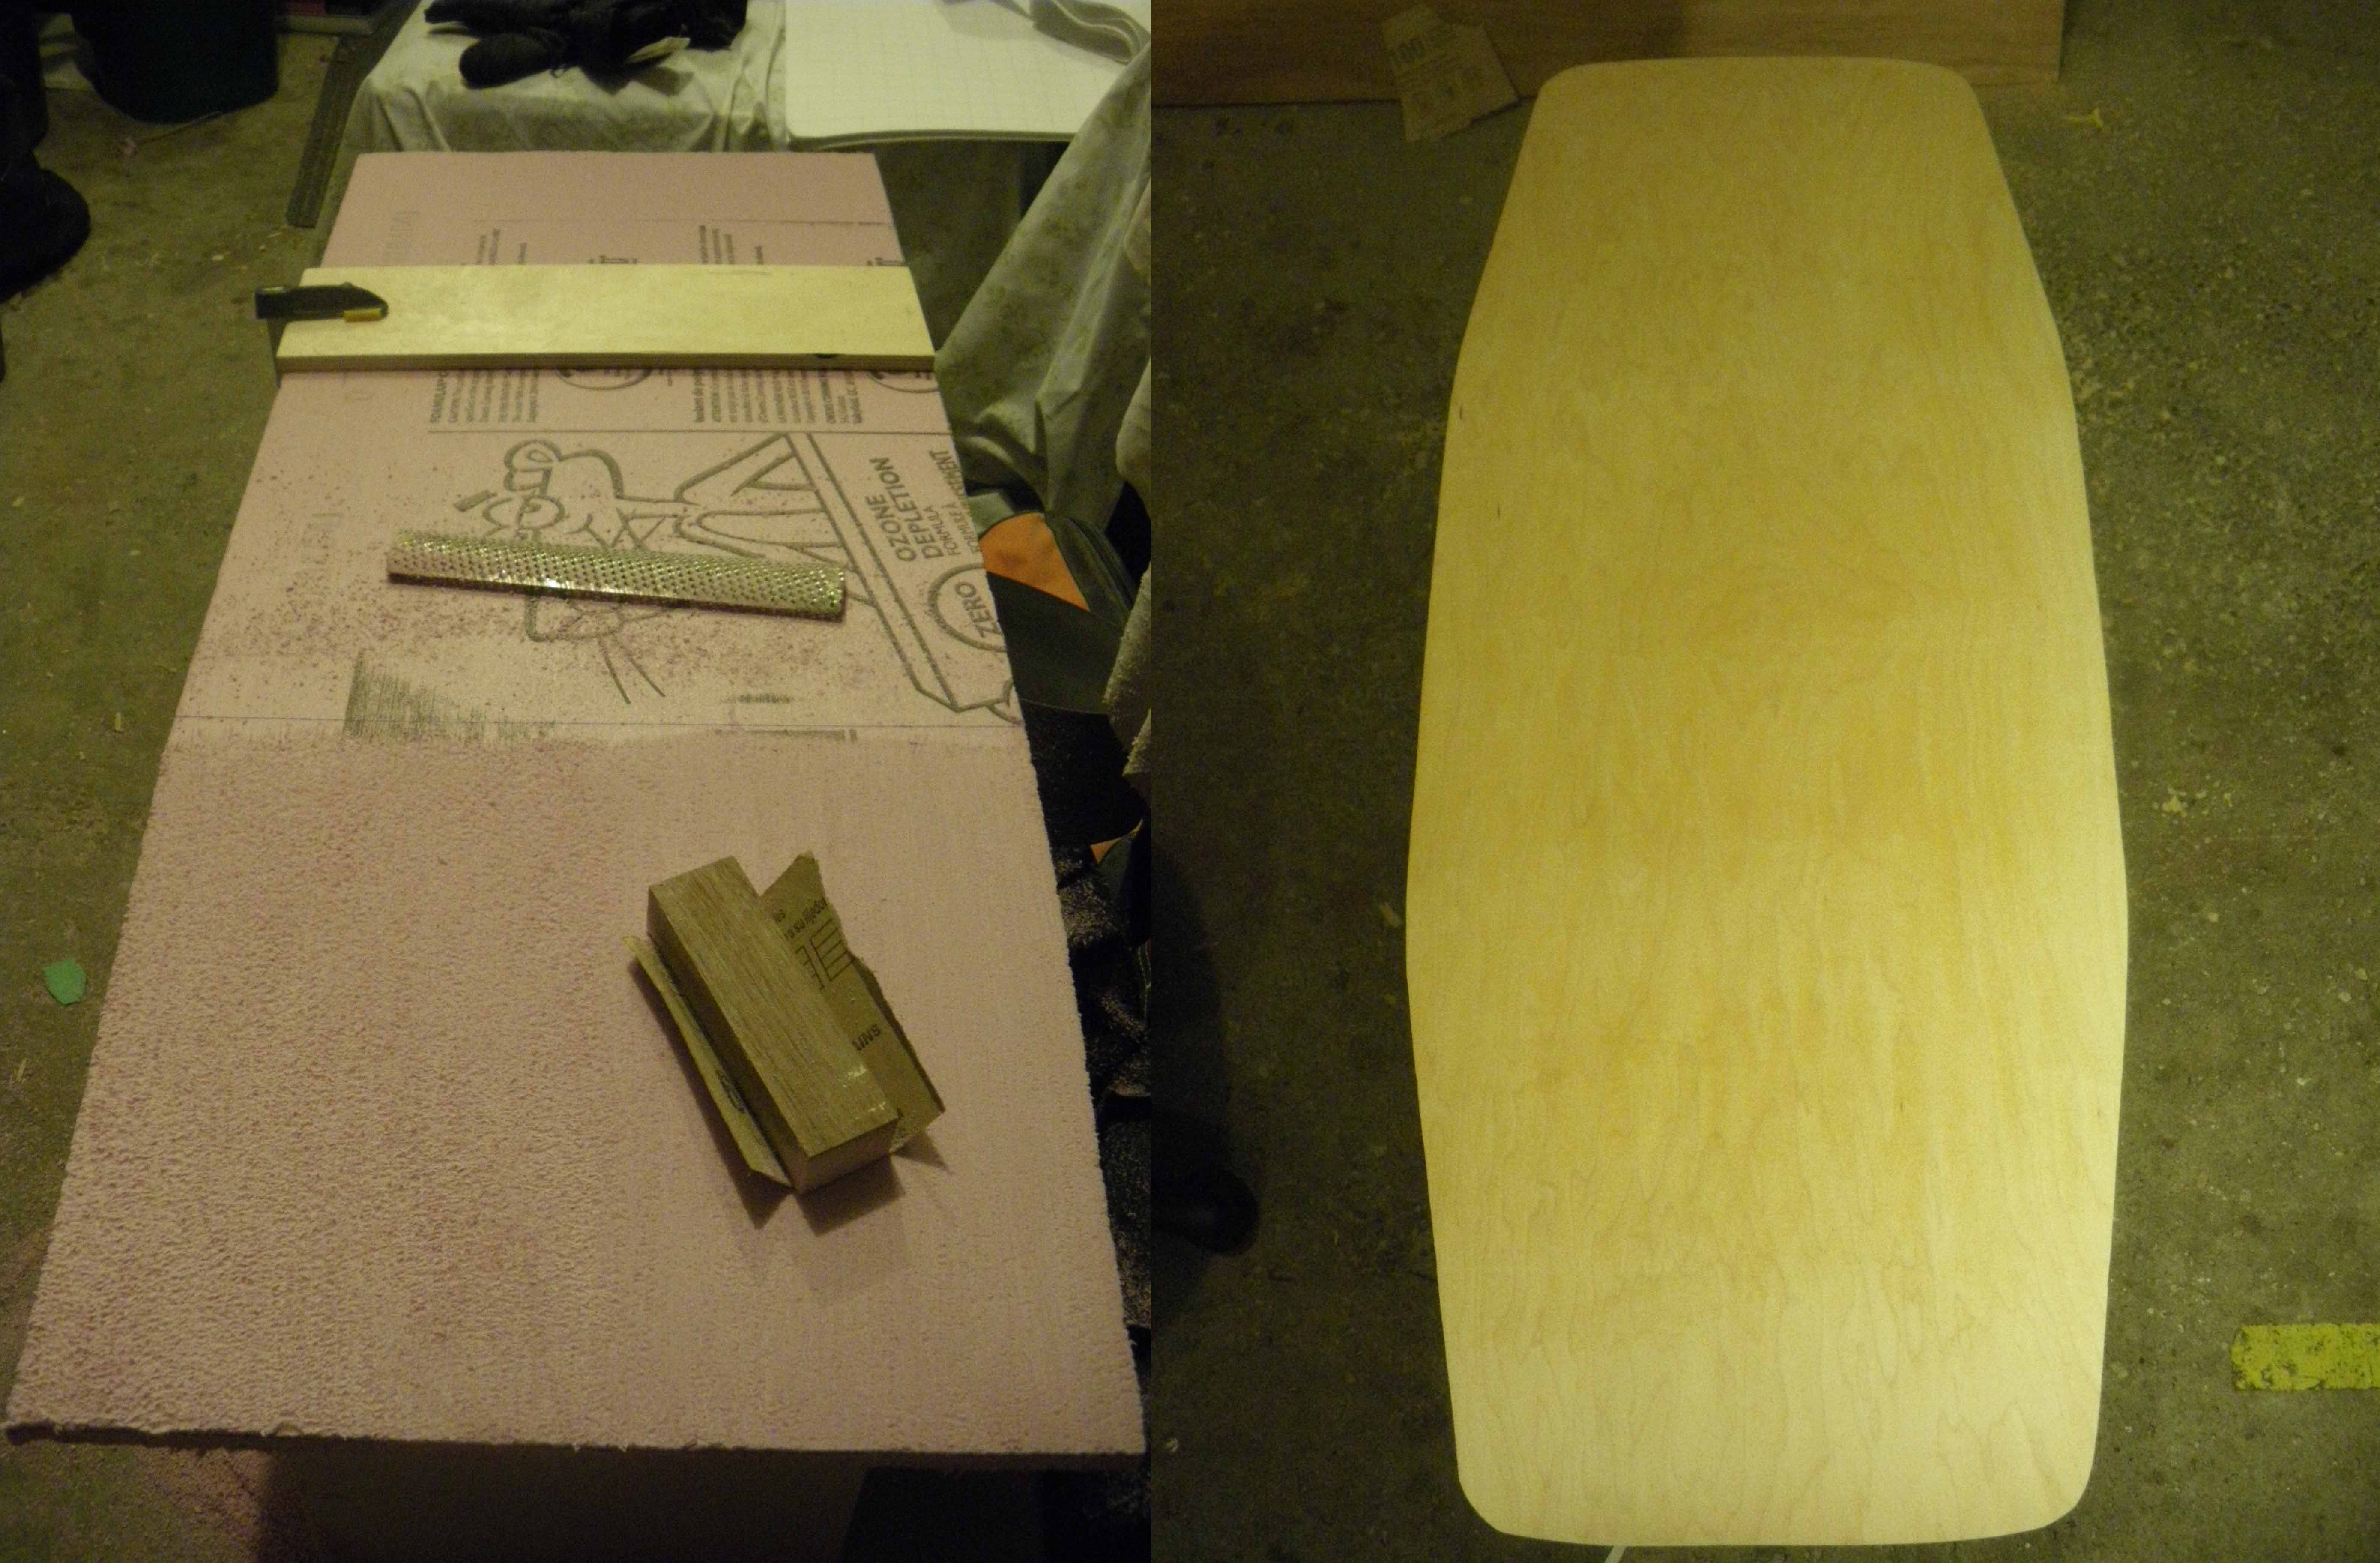
This being a new mold, I wanted to do a dry fit (without glue) to make sure all my veneers would press evenly and there would be no gaps between the wood and my mold.  My first dry fit went great, there were no gaps and the top layer was nice and smooth.   Now that I know this mold works... its time for glue.  I used the waterproof and inexpensive Titebond 3 glue.  I am also going to epoxy the entire thing after I cut and sand it, so that the board will seal properly and last longer.  

I got the board in the bag, I made sure to check the bag frequently and then let it sit over night till I got home from work and checked it out.

It totaly worked, how crazy!!!  

I removed the newly pressed baby... I mean board, from the bag and checked out all its edges.  I was able to get a nice lamination from this pressing, which got me even more stoked to ride it.  I got right to laying out my design!  I don’t like using a template, I use measurements and tools to draw it out, especially because it was my first wakeskate.  I started with my center lines and then measured everything off of those lines.  I used a measuring tape, a small ruler, my Rockitruler, and something for drawing circles.  After making my lines, I used a jig saw to cut the board out roughly to shape. I made sure to cut a little outside of the line so I can sand the edges.   Through all of this, I went slow and steady making sure I did not mess up.  Keeping a good line could make all the difference and how the board rides on water.  

All said and done, the board was cut, sanded and I just coated the whole thing with epoxy.  Next step, throw on some grip tape and hop in the lake!!!


**Check back soon for the stoke-inspiring conclusion of the 'Frenique' Wakeskate Review! 


Wednesday
May232012

Brand New BIRCH Veneers Pt.1

Here at the RockitLabs HQ, we have been working to find the next great material for our board builders around the world. After carefully weighing the pros and cons of various different materials, we came to the conclusion that one in particular really stood out... the choice was clear.


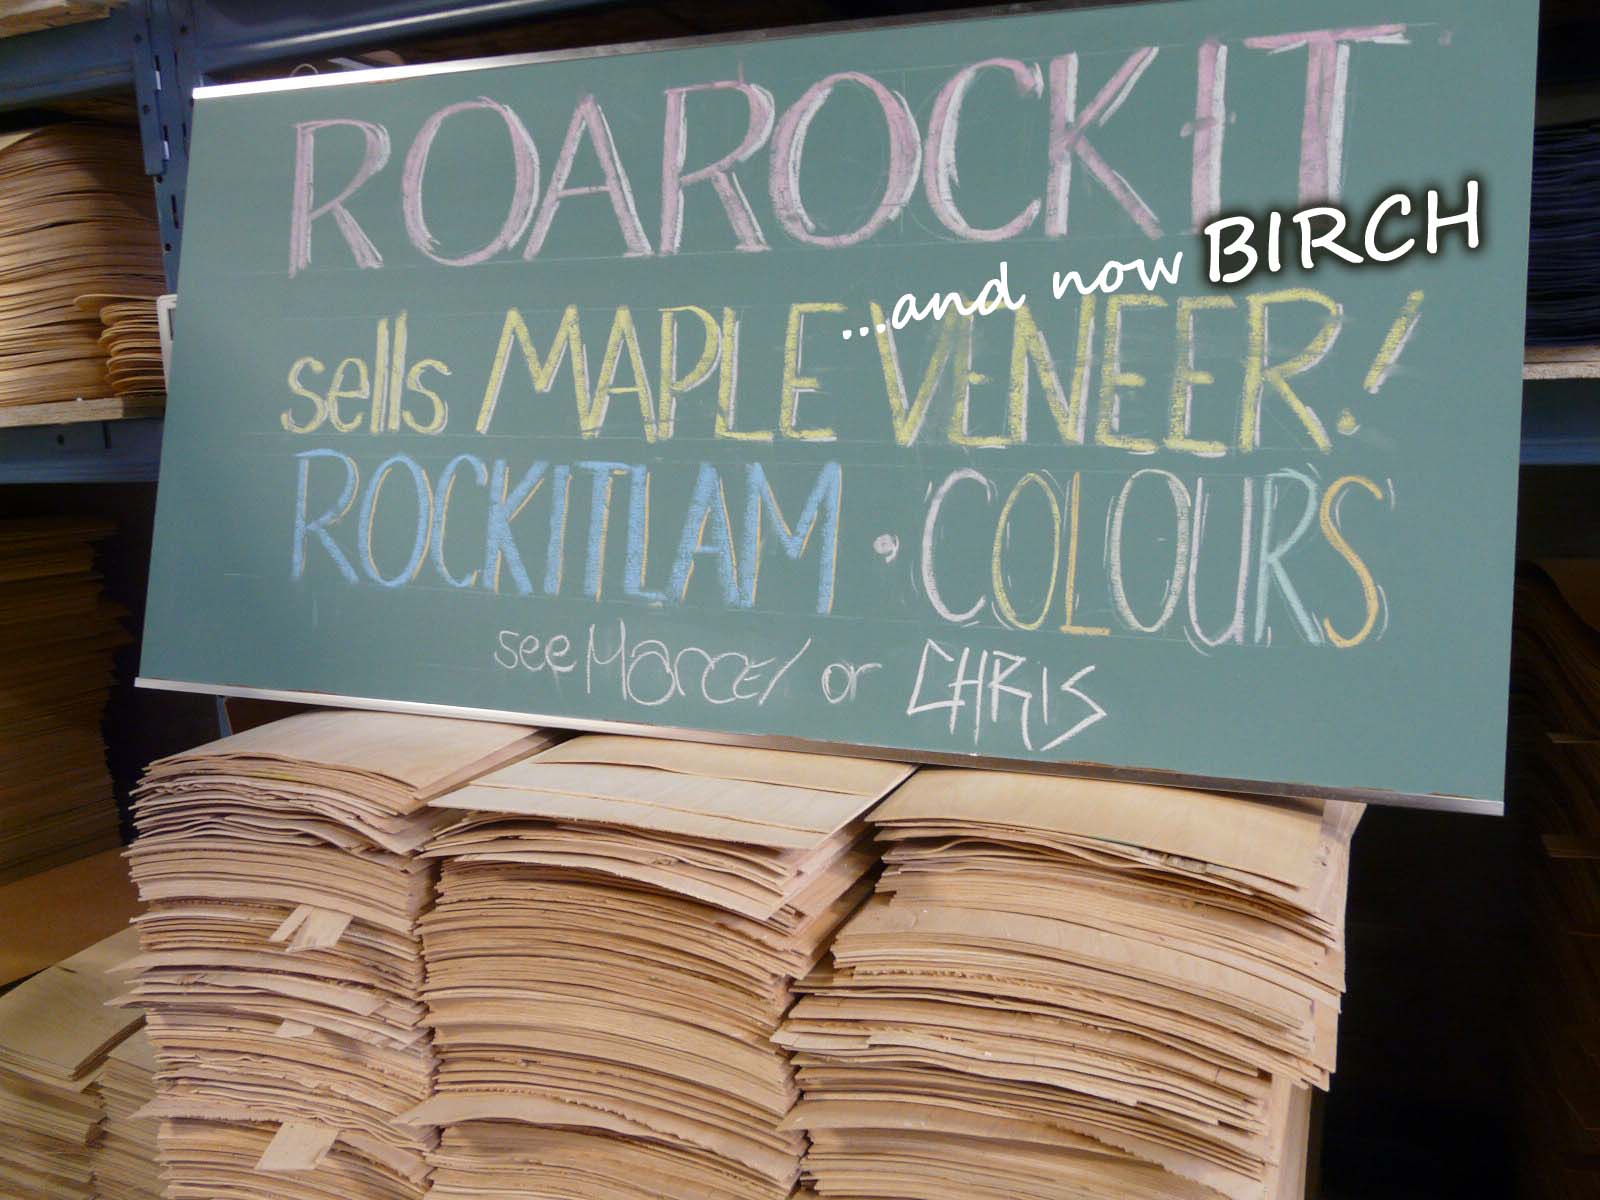
The Roarockit Skateboard Company is now fully stocked, and proud to offer our brand new - 1/16” Solid Birch Veneers! This locally sourced wood is strong, flexible and looks amazing!

There are over 40 species of Birch trees grown around the world, many of which are exclusive to North America. Birch trees can thrive in many different climates, which helps make it ones of the world's most popular building materials. The grain on birch is generally very straight and contains numerous small pores. The fine, straight nature of the grain makes it easy to cut, sand and accepts stain very well. You can stain Birch to match many different wood types.

When it comes to the strength of Birch as a material, it is considered to be one of the hardest and most durable of the common wood varieties. Like Maple, Birch can grow in extremely cold weather conditions. These extended periods of coldness allow the tree to mature slowly which results in tighter growth rings and a stronger final product. However, Birch contains 'flexier' properties than its Maple counterpart – something that is integral to certain types of boards.

Flexibilty is a function of the elastic and compressive values of a given material, and there are natural variances found within the complex structure of fibres and cells, that make Birch a 'flexier' building material. While we have done quite a bit of research to understand the science behind this, we do not claim to be expert Biologists. We look at this from a riders/builders perspective, and we know how different types of boards should feel. That being said, we are quite thrilled with the results!

For the next couple weeks, we will be releasing our test results, testimonials and opinions from board builders regarding the new Birch material.  Make sure to check back for Parts 2 and 3 of Roarockit's Birch Report.


PART 2 HERE!!

Tuesday
Mar202012

Swap Meet SPECIALS!

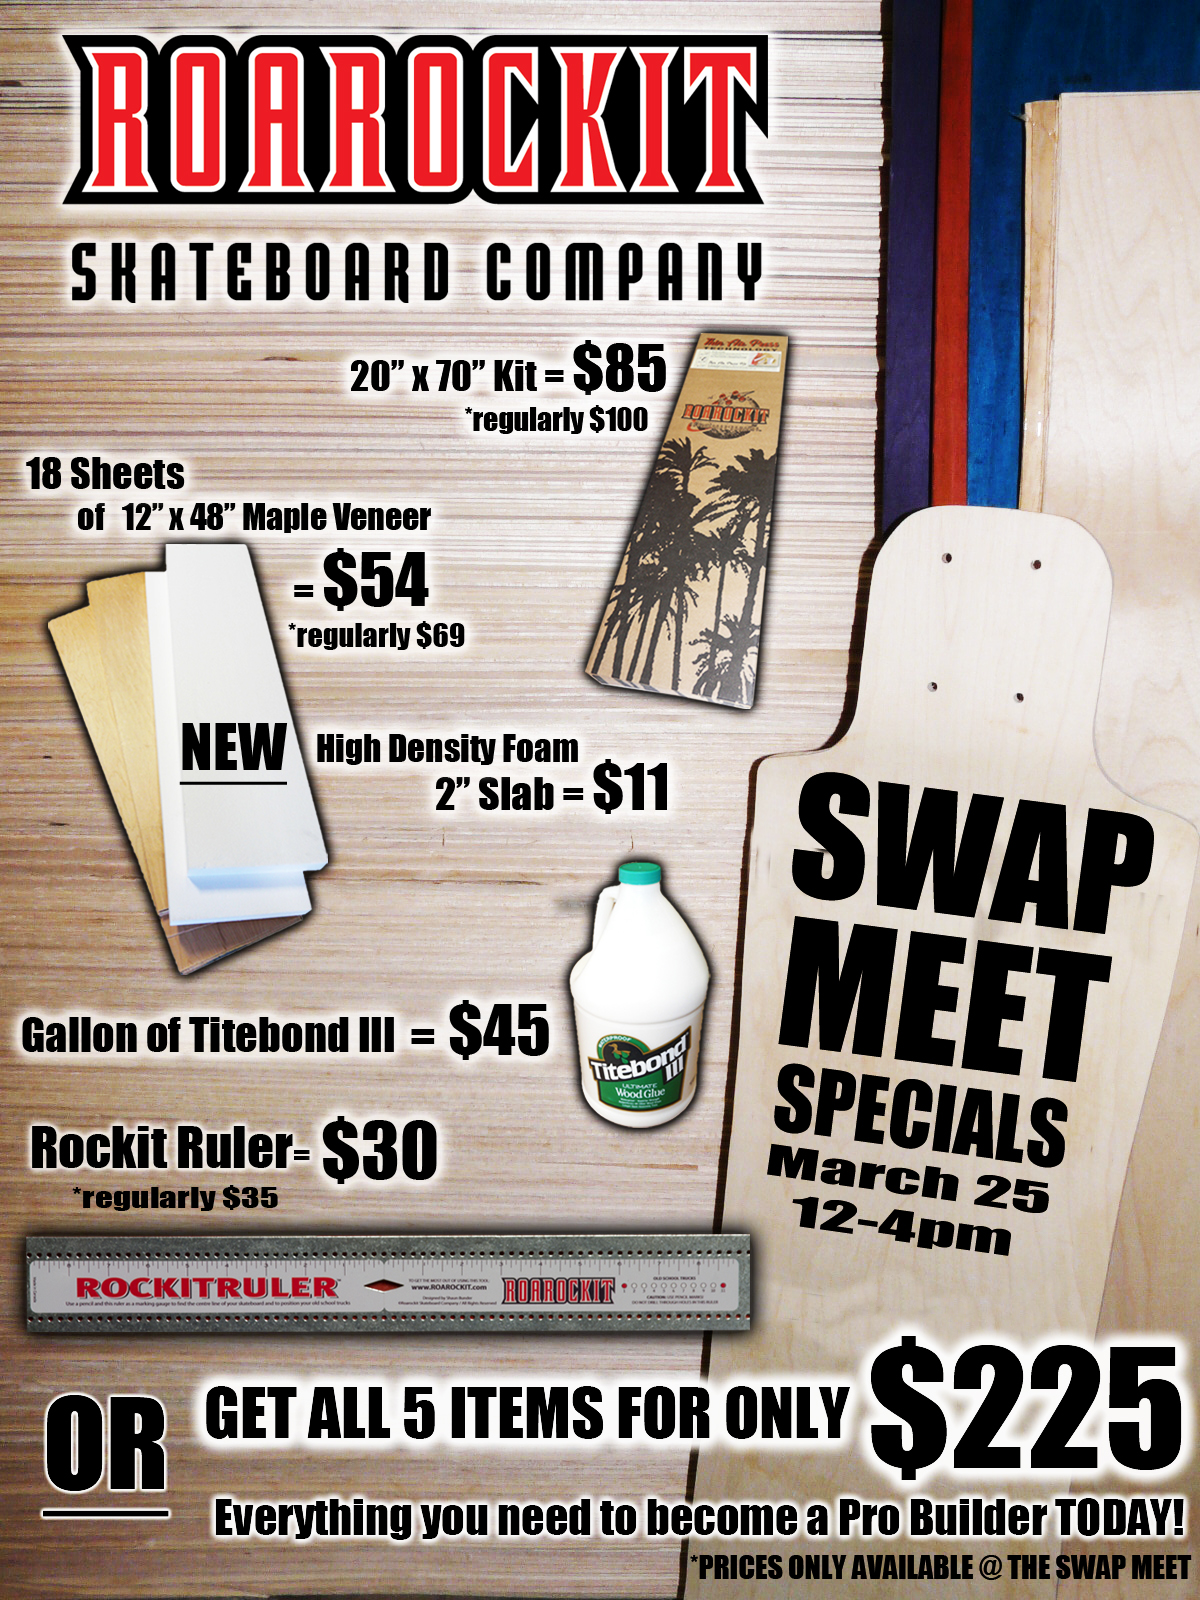
The Roarockit Skateboard Company is again hosting this years Annual Swap Meet. Not only does the Swap Meet mark the unofficial launch of the new skate season, but it also the time when local board builders start planning for the Summer ahead.  We will be offering some great deals for this special day, and as always FREE BBQ!! 

The theme of this years special is "Become a Pro Builder Today!"

What we are offering is a chance to walk away with EVERYthing you need to start building your own custom skate/longboard decks, including a few brand new products we are very proud of - such as our brand new High Density Foam and the innovative Rockit Ruler!

You can get great deals on almost all of our every day products, including Titebond III glue, 1/16" maple veneers and 20"x70" TAP bags - but most exciting is the fact that you can walk away with ALL of these products for the low package price of $225!! That's over $40 in savings.

The total package includes:

1-   20"x70" TAP Kit (our most popular vacuum bag)

18- Sheets of 12"x48" maple veneer (enough for two, 9 layer decks)

1-   2" Slab of High Density Foam (used to make your own custom mold)

1-   Gallon bottle of Titebond III glue (best glue for building boards)

1- Rockit Ruler (used for marking centerline and aligning truck holes)


Items will also be available individually, but this is a ONE DAY ONLY promotion.


We look forward to seeing everyone out again this year, and hopefully a few new faces as well!

The Swap Meet will be located at Roarockit's Teaching Facility located at 880 Millwood Rd. Toronto ON M4G 1X1 on Sunday March 25th from 12pm-4pm


Sunday
Jan152012

Welcome to Rockit Talk

The Roarockit Skateboard Company is proud to present our new blog/community, known simply as... ROCKIT TALK!!

Rockit Talk is our way of highlighting the amazing projects and contributions, that come from our extended (and very talented) Roarockit family.  Everyday we are lucky enough to see work created by people using our Thin Air Press technology, and everyday we are amazed by what people have come up with.  These projects range from designing skateboards to building boats, and are only limited by the imagination of the builders themselves.

It is our goal to create a place to display these innovations, and make use of all forms of social media to help educate and exhibit our communities' progress.

We encourage everyone to submit photos, videos and any information that we can use to help bring exposure to your work.

Roarockit would like to thank you all for your support, and we continue to look forward to seeing what amazing creations you all come up with.