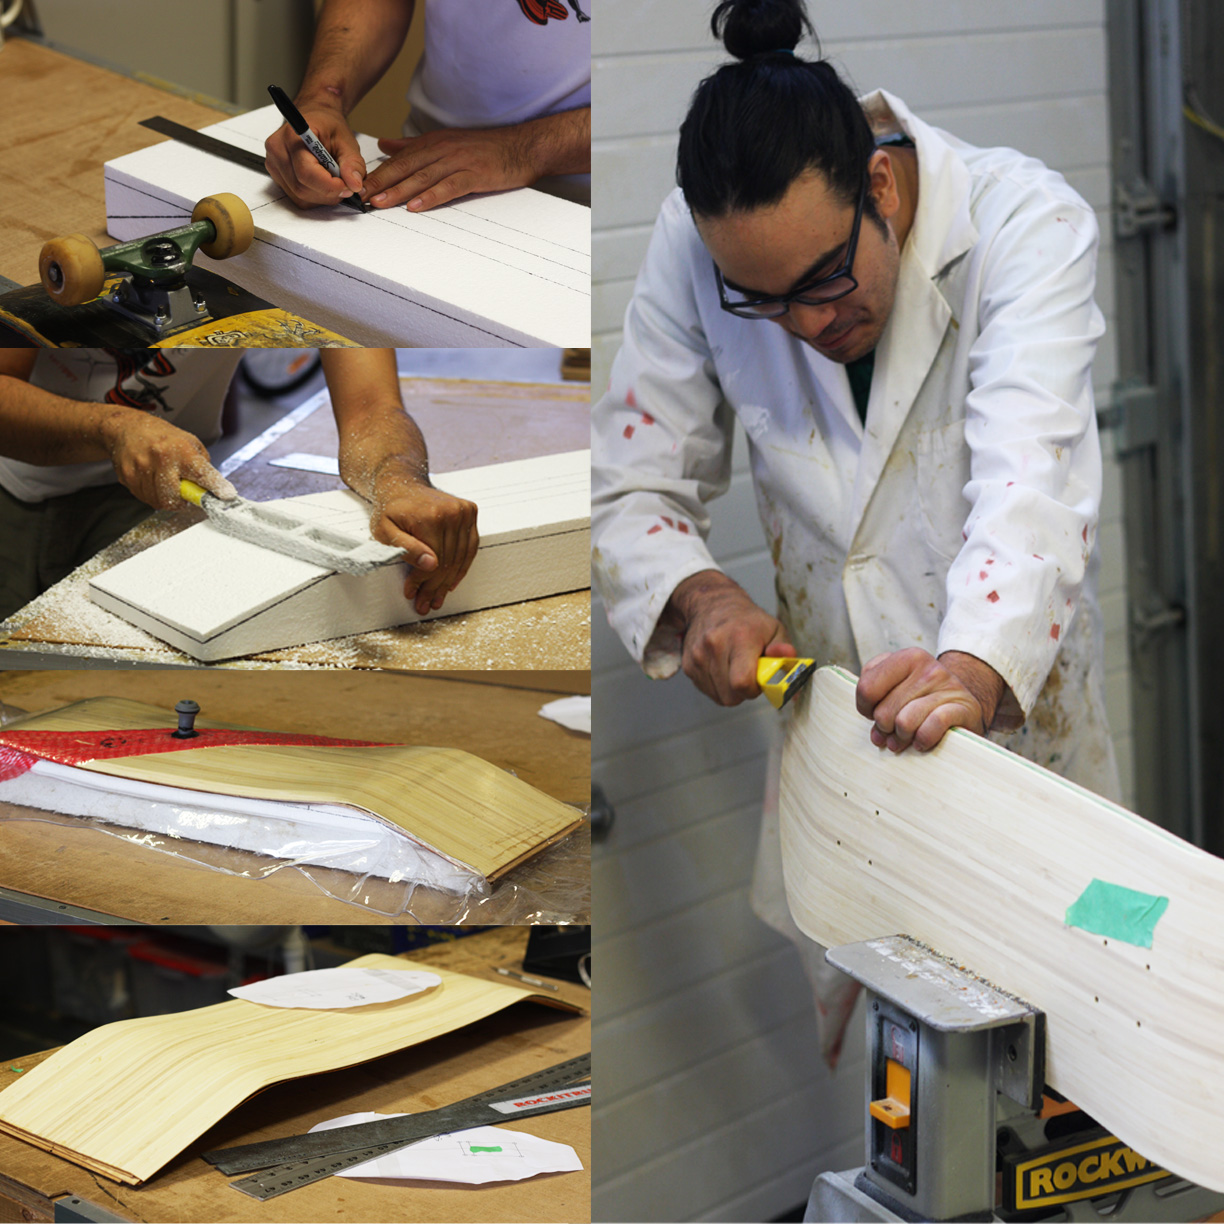
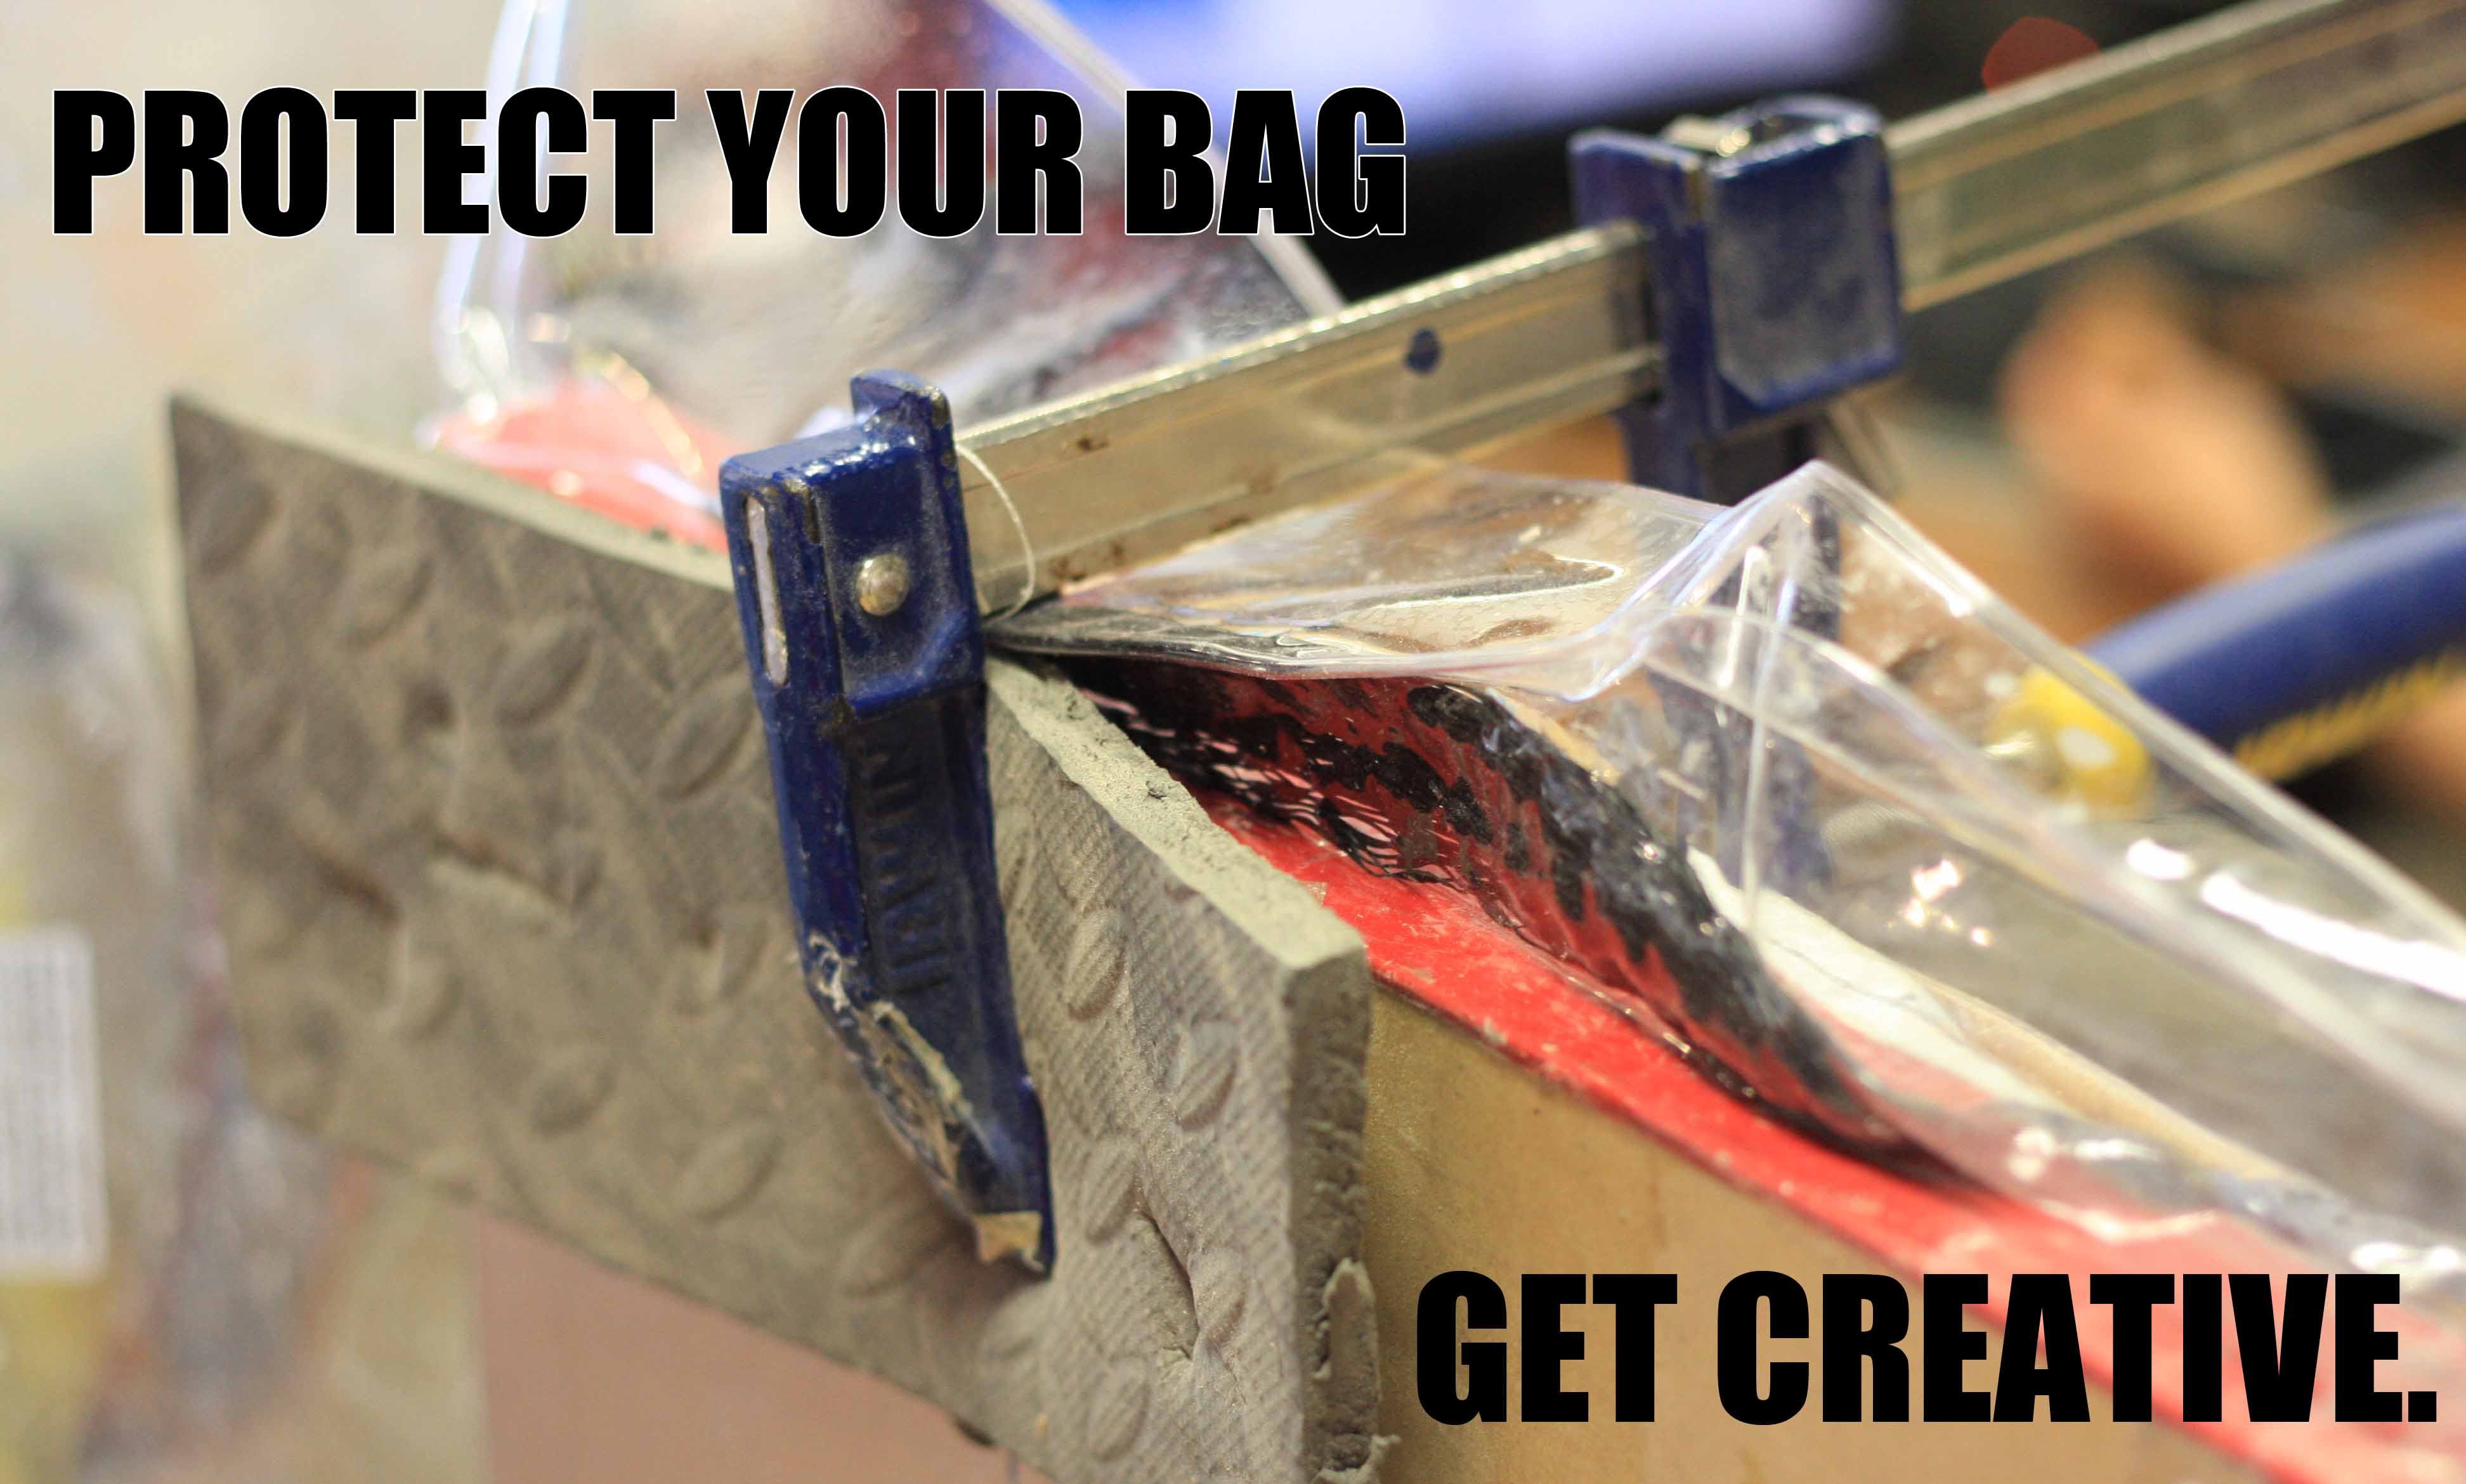
Live Twitter Feed
Blog Index
Thursday
Oct162014

Clamping Tips

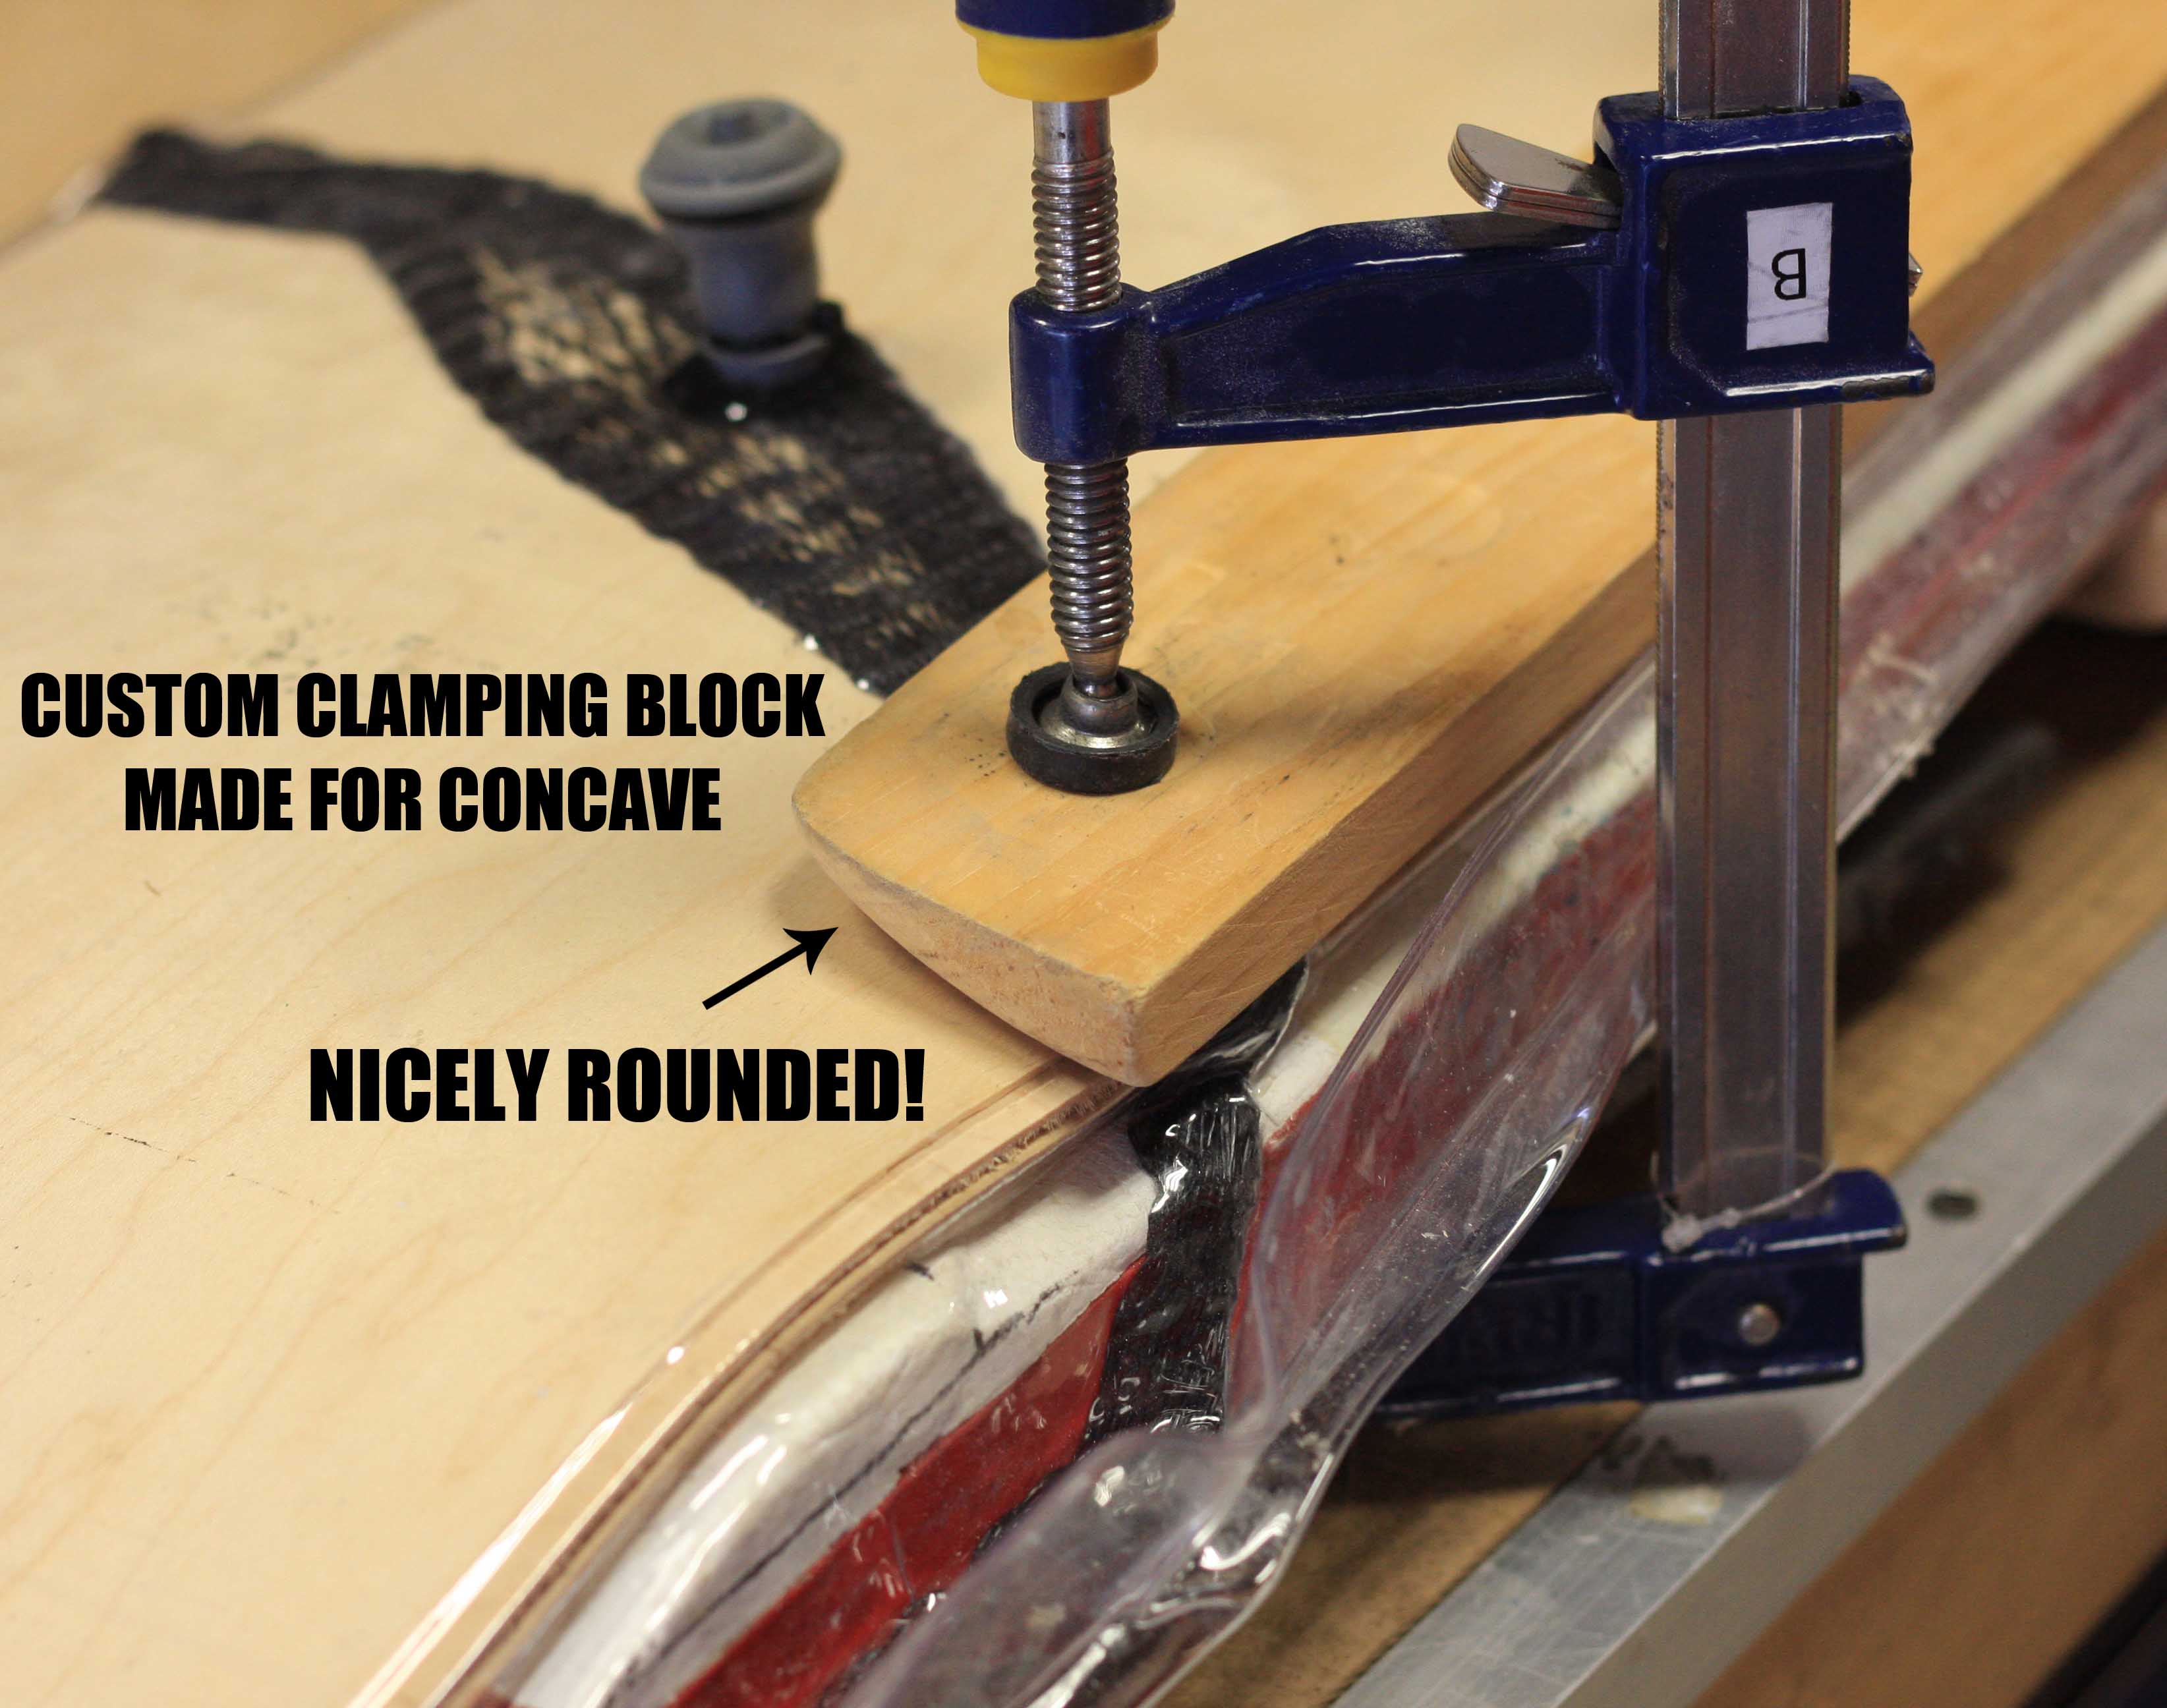
If you plan on using any external clamps for a project in your Thin Air Press bag, make sure to use rounded or padded blocks in between the clamp and the vinyl of your bag. This helps prevent the metal clamp ends from damaging your bag or putting unneccessary stress any one spot. 

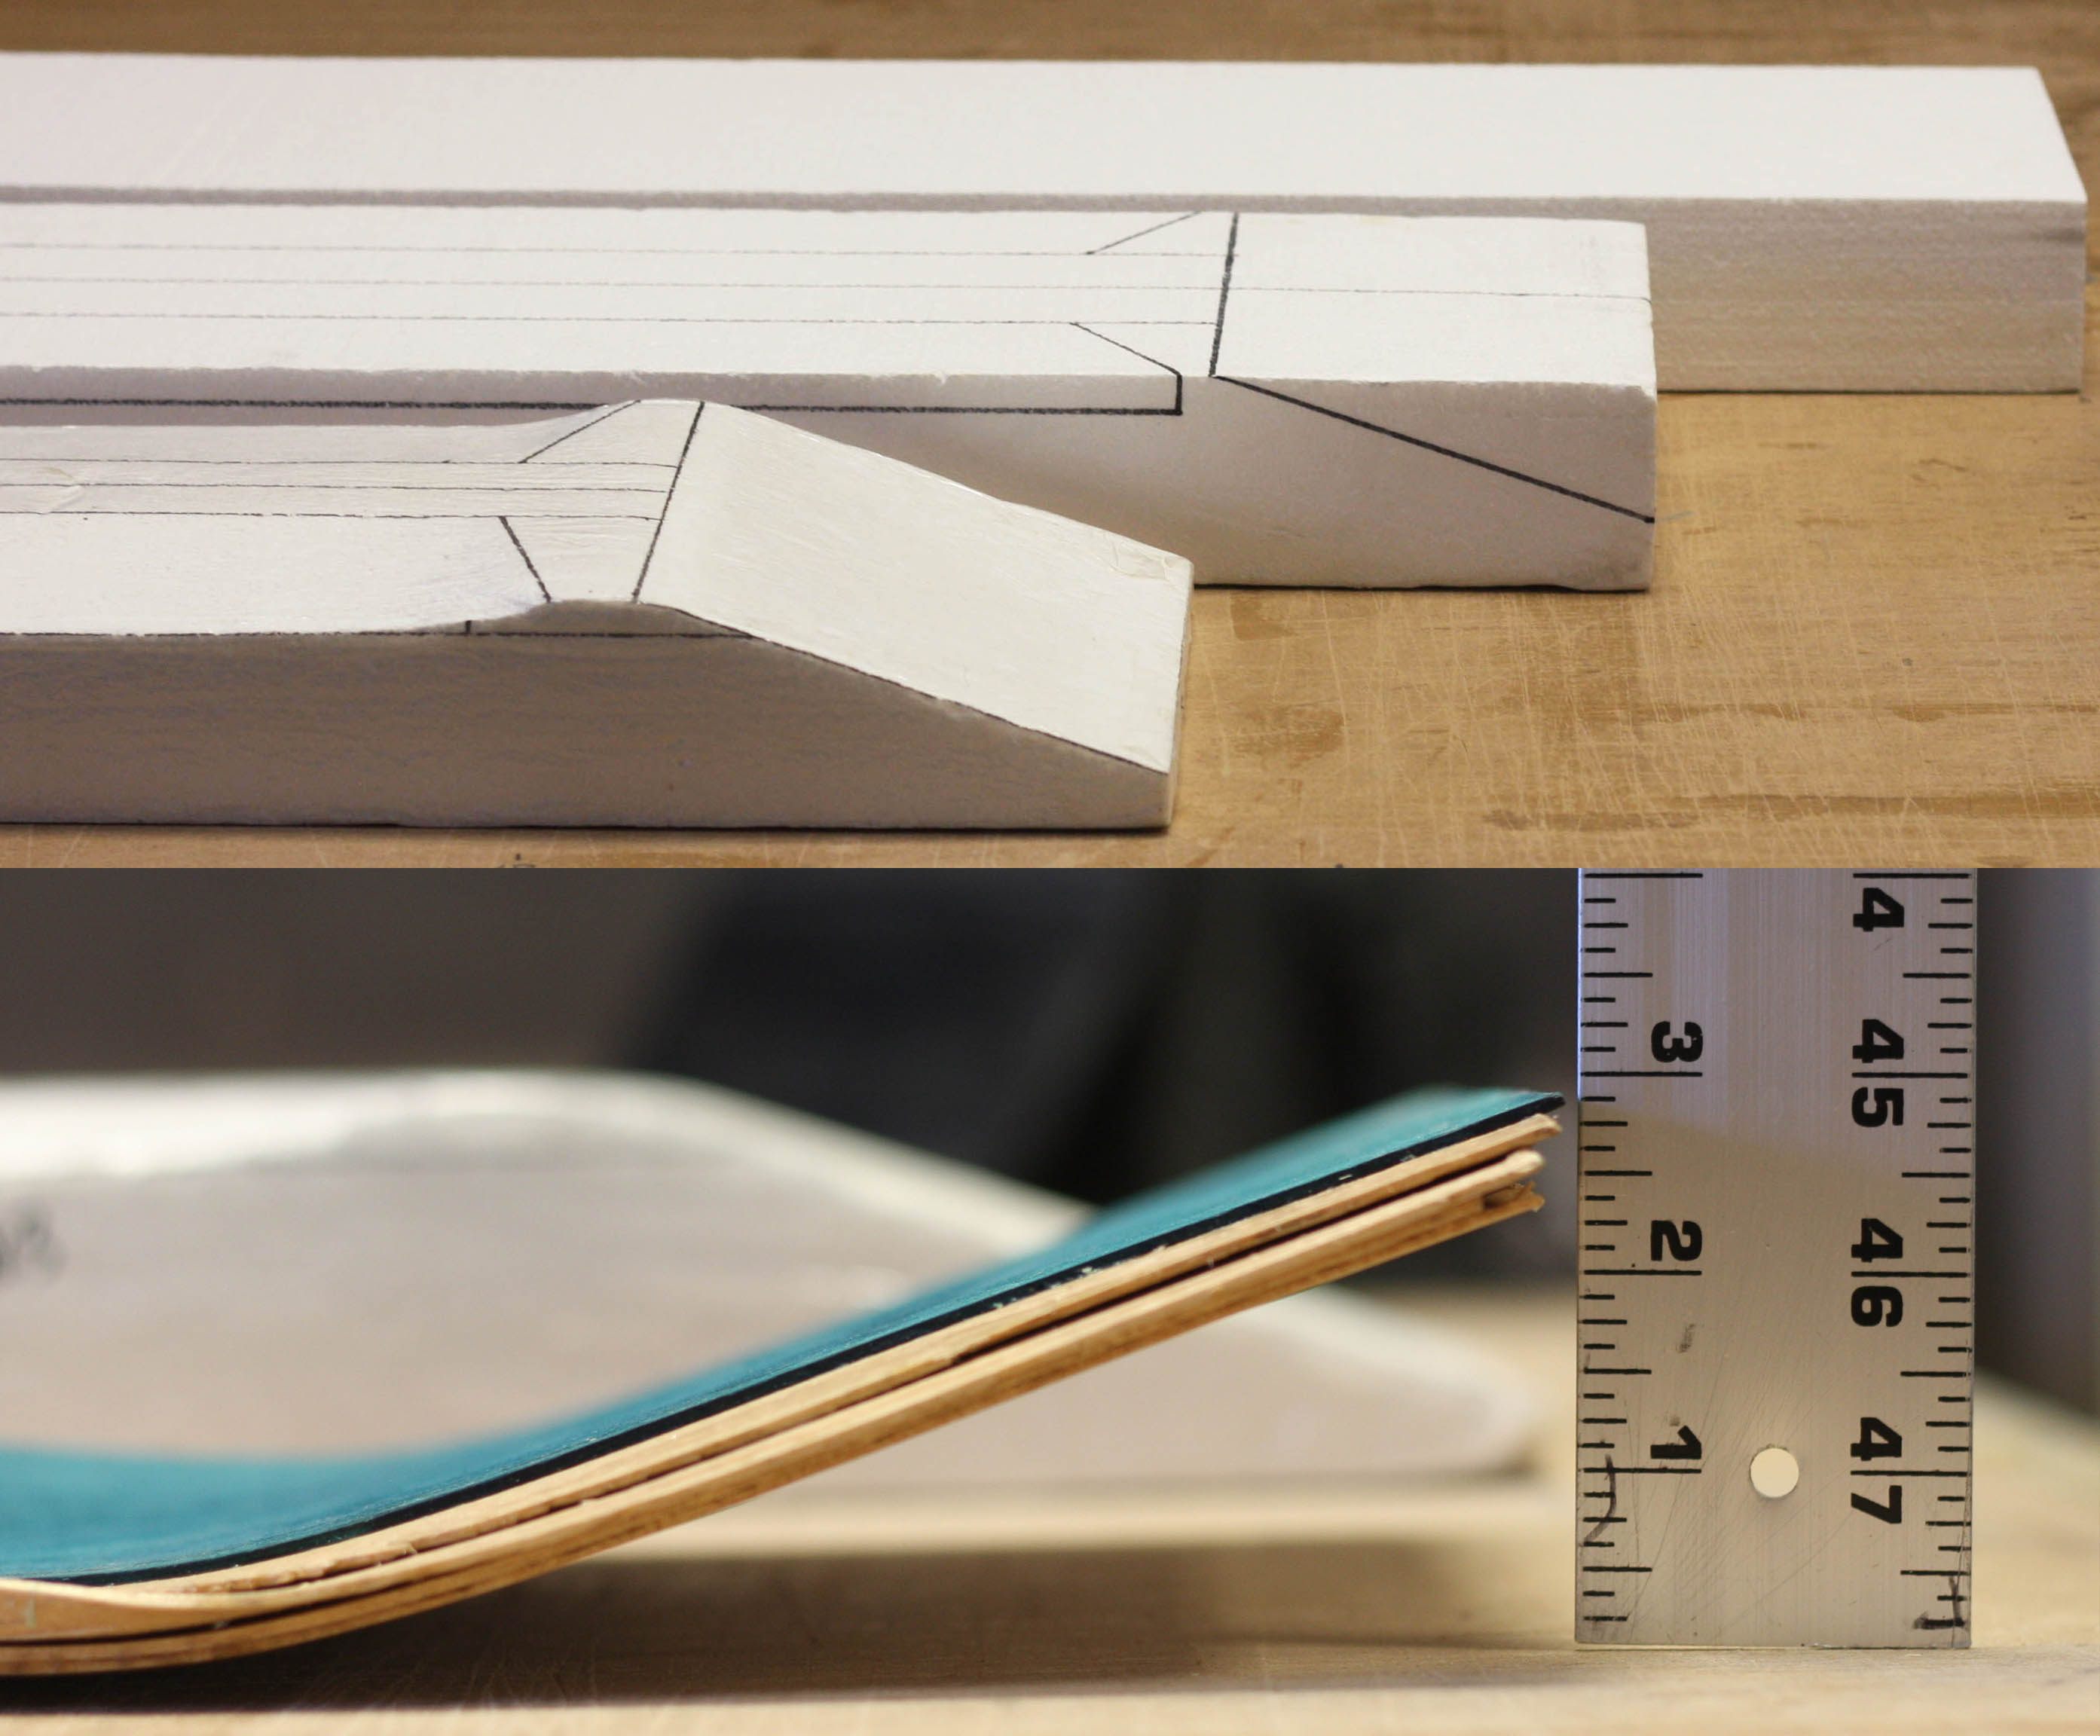
A great example of this is the common practice of using clamps to help achieve a super tight bend in a drop deck. By applying clamps to a block that runs along the apex of your drop bend, it can really help ensure a strong lamination in these areas. 

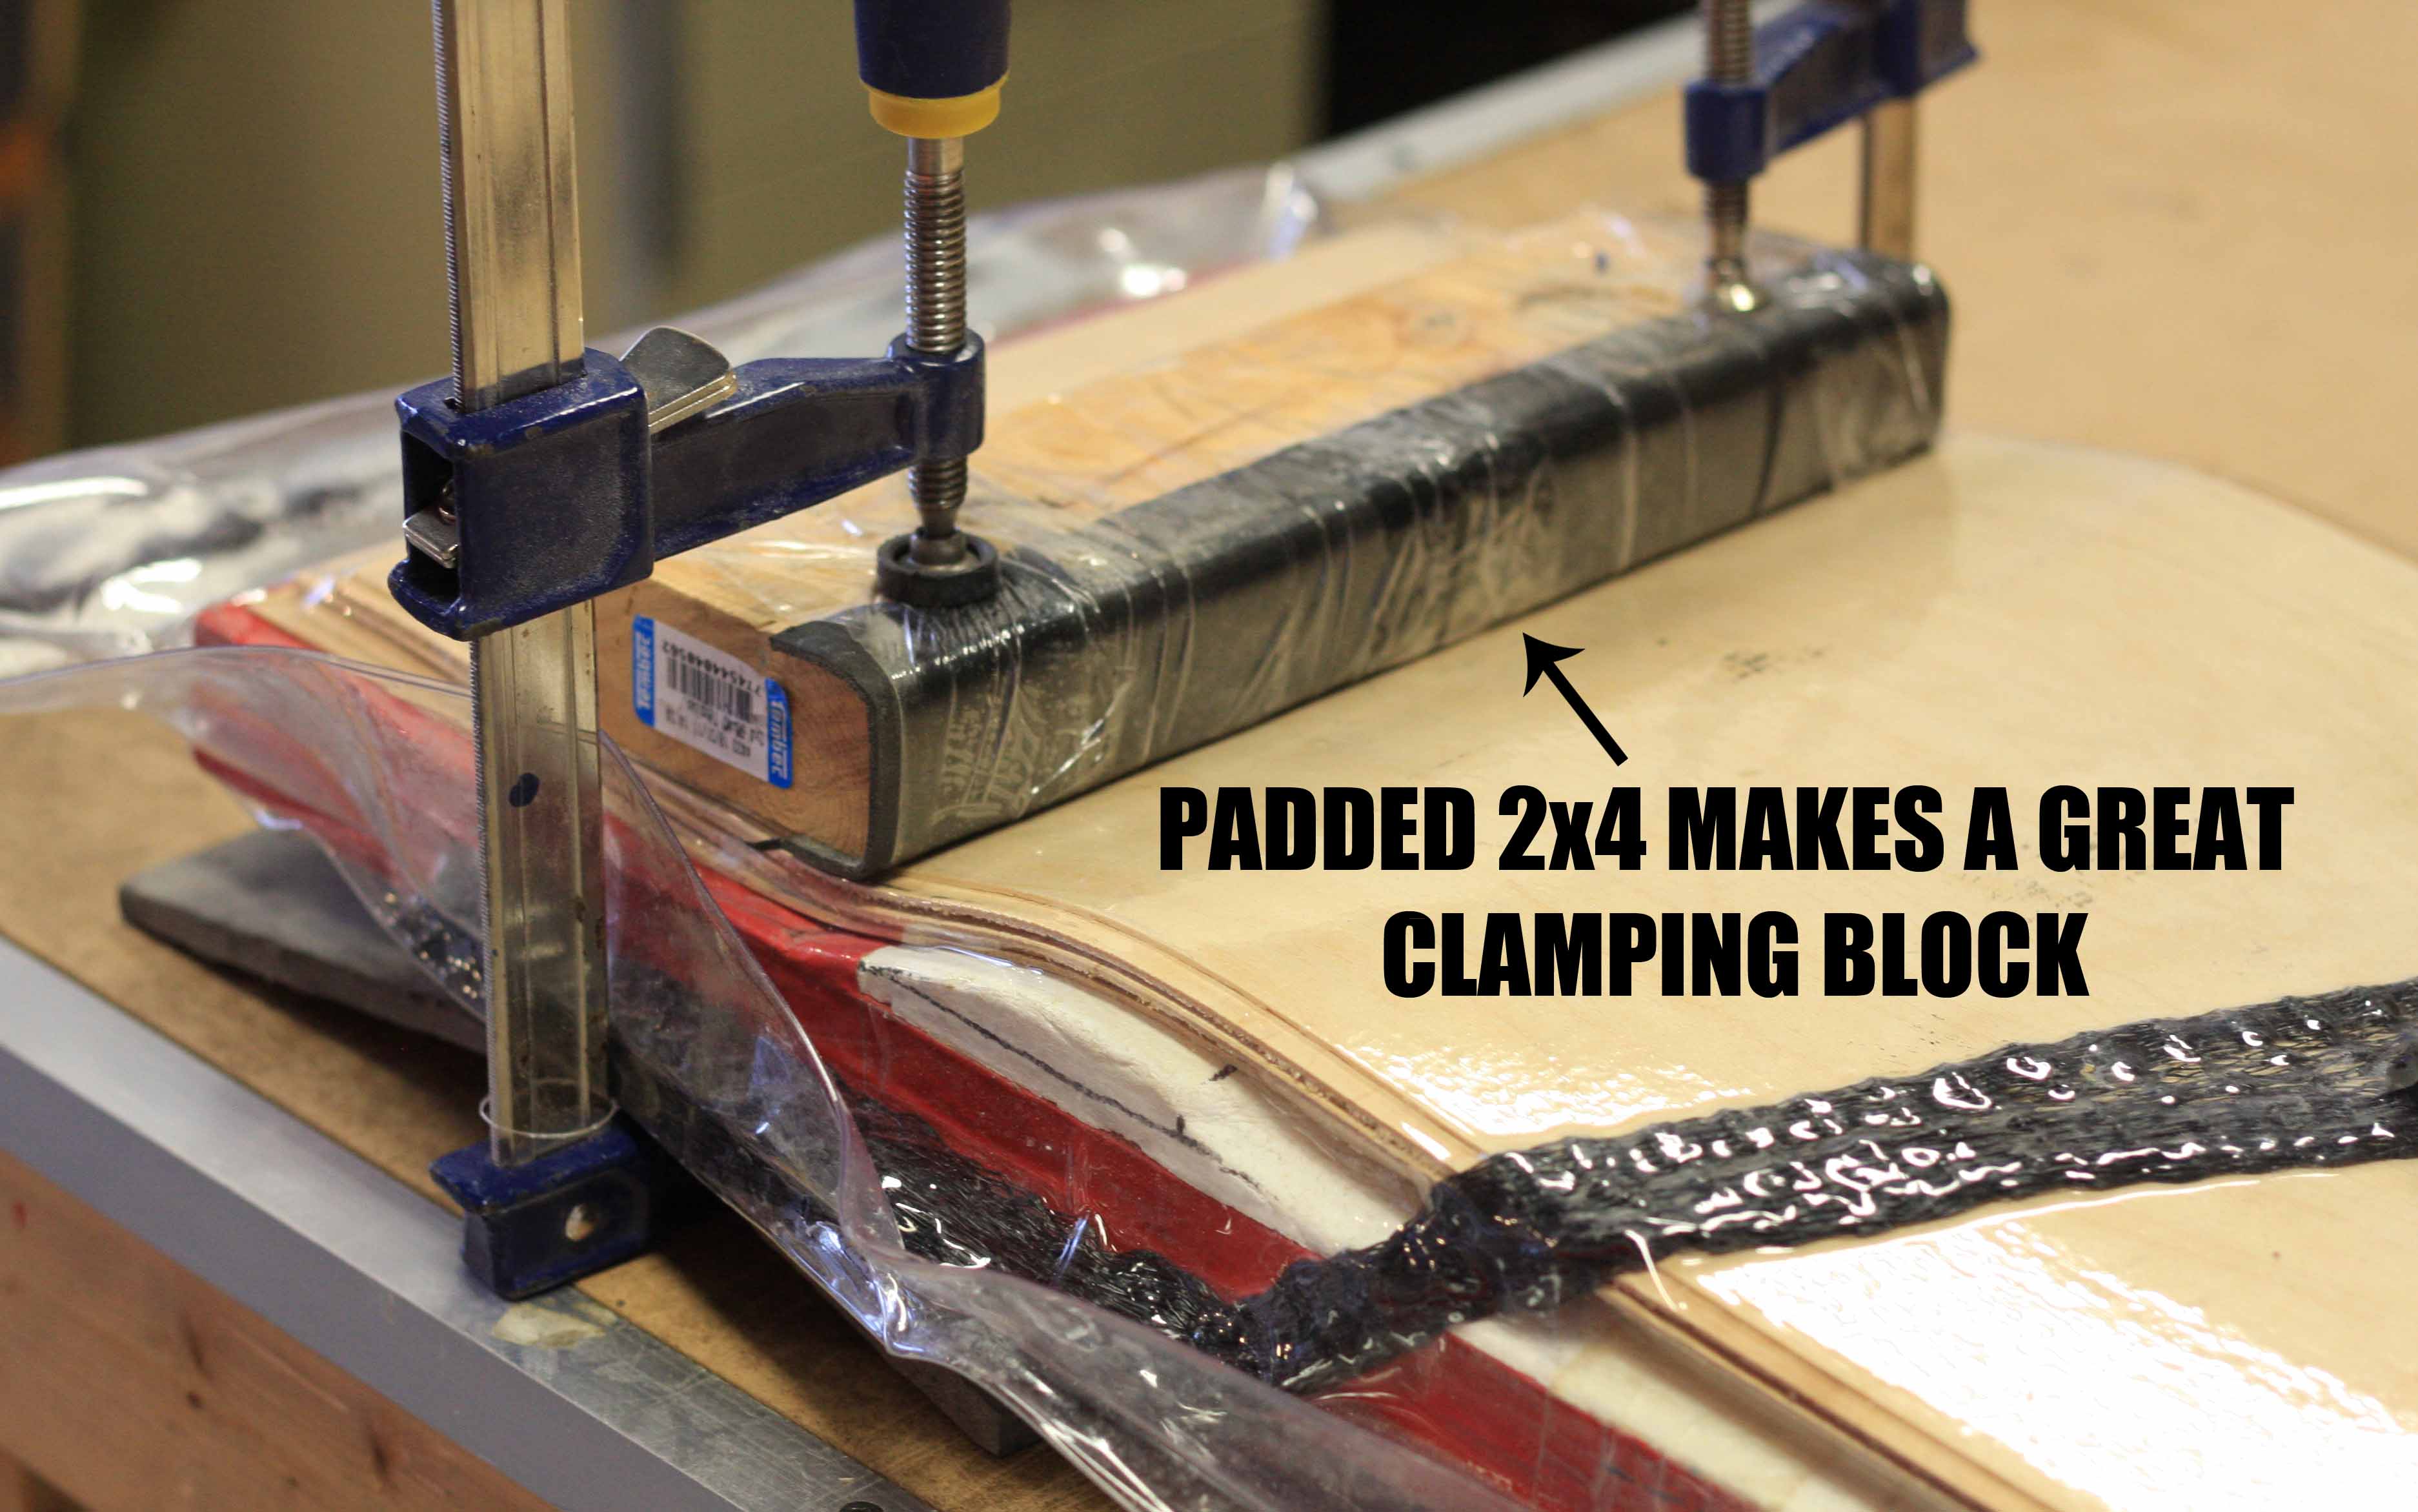
Notice how the blocks are placed on the outside of the bag with only the nicely rounded edges making contact with the bag. This will help prevent unnecessary force being applied directly to the bag itself.

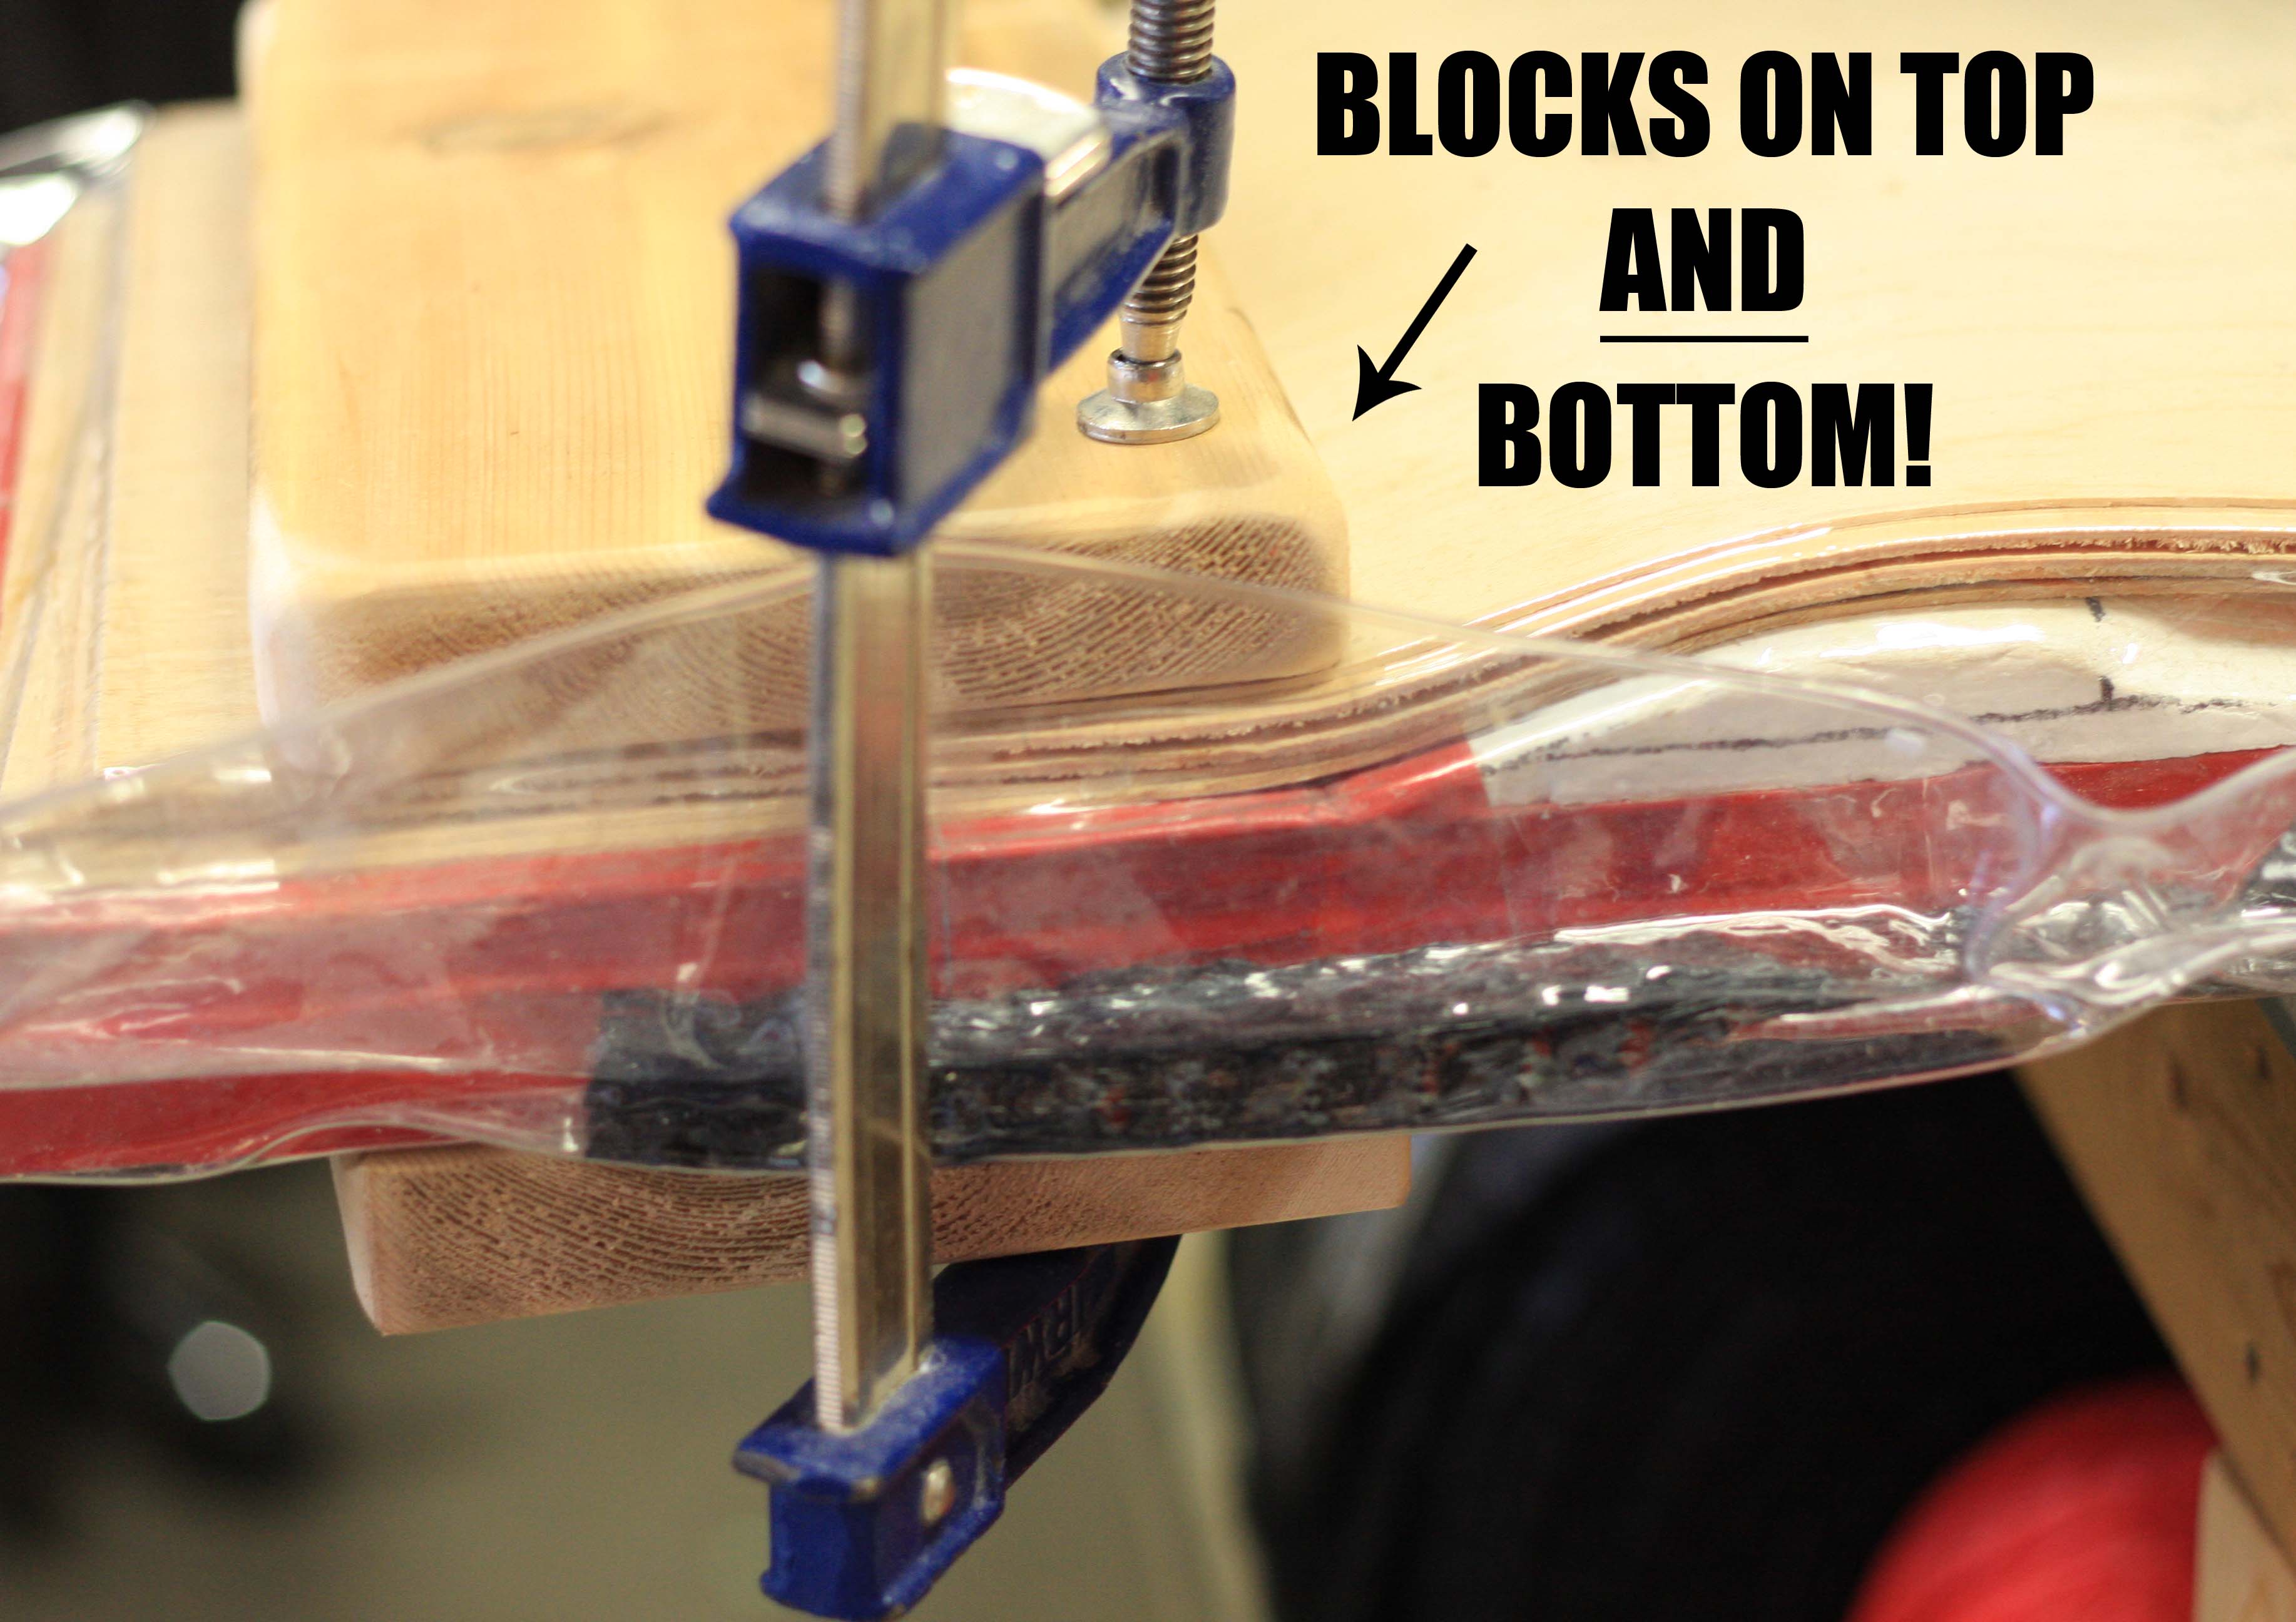
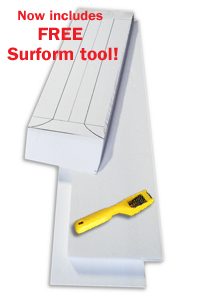
You can make blocks like this using a variety of materials. Anything that will provide some relief between the metal and vinyl should help prevent your bag from getting damaged. 

This method can also help with bending concave

Wednesday
Oct152014

Veneer Prep Tips

Worst case scenario when working with your Thin Air Press vacuum bag is that you will get a hole or tear in the vinyl of your bag. While you can always fix a hole (video below), one of the best ways to prevent it from happening is to make sure the project you are pressing doesn't have any sharp edges or splinters.


Always be aware of material that could puncture the bag, on veneer sheets this is usually tiny splinters or sharp corners. Take a bit of time before pressing to sand these areas down and it will go a long way towards the longevity of your bag.

Check the edges of your veneer as well as they may have a sharp edge or splinters just waiting to tear your bag when you slide the project into it. Simply use a sharp utility knife and a ruler to cut the edge straight.

Jeremy from Boomstick Boards even showed us this great little tip where he actually cuts the corners of his veneer sheet on an angle before pressing.


Tuesday
Oct142014

Sealing Tape Tips

The vast majority of leaks that occur when using the Thin Air Press vacuum bag come from the sealing tape on the one open end of the bag. It is important to make sure that the sealing tape itself is free of dirt, glue and debris, and has not been compromised in any way. When you are pressing down the tape to seal the bag, look for any grey areas that indicate the sealing tape is not fully pressed down. You want a nice, uniform black colour running across the whole length of the bag, especially in the corners!

It is always a good idea to use the paper backing strip that comes with the sealing tape anytime you are putting a project in or out of a bag. That being said, it is possible to keep using the tape over and over, even with some imperfections. A little dirt isn't the end of the world, but may be a cause of a small leak in the bag. You can always replace the sealing tape if it is causing an issue.

We recommend putting the paper backing strip inside the bag when you are pressing your project as a way to not lose it.  

All of our TAP Kits come with extra sealing tape rolls to replace the original one on that comes installed on the bag. If you have used all three of the sealing tape lengths from your original kit, we do sell replacement rolls online. They can be accessed here.


Thursday
Oct092014

The Handmade Skateboard

Always something fun and new at the Roarockit Skateboard Company! This time we are proud to announce the release of a book written by California-based, Sk8 Makers-in-Chief, Matt Berger.

Click photo for product link

“The Handmade Skateboard is the definitive book on building custom skate decks of all shapes and sizes, from the high-performance street deck to the classic longboard to a vintage pinstripe cruisers that will turn heads everywhere you go. When you make your own skateboard from scratch you have the opportunity to create something that is perfectly tailored to you: a deck that matches your height, your weight, your center of balance, your skill level and your intended use. More importantly, making your own skate deck allows you to design a perfect deck to fit your personal style, making a statement about who you are.”

The Handmade Skateboard: A Preview from Spring House Press on Vimeo.

We worked closely with Matt for an extended period of time sharing our experiences and board building methods to help contribute to this incredible project. Not only does he extensively cover our Thin Air Press vacuum bag method of board building (Chapters 6 and 7), but the book goes over the history of skateboard making and has lots of great interviews and features of people in the industry.

This 150+ page book is available on our online store for $24.95, and can be bundled with board building tools and materials to really help get you started! 


Monday
Sep292014

3" Foam Product

Street Deck builders rejoice! Roarockit now offers our high density foam slabs in the perfect size for your custom double kick street deck molds.

The new foam product matches up with our Street Deck sized veneers (9.5” x 34”) and is 3” thick to allow for steeper kick tails. It also allows builders to create a mold for their street deck veneers without having to cut down a 12” x 48” slab... which equals less wasted material!  

We will be offering this product on our website in two different packages:

 (2) Slabs of 3" x 9.5" x 34" High Density Foam - $39.99

Click photo for product link


Street Deck ProBuilder Kit - $139.99

Contains:

(1) 20" x 70" TAP Kit

(1) 3" Foam Slab

(2) 7 Layer Maple Street Deck Veneer Sets - 14 sheets total

Click photo for product link


Feel free to contact us if you have any questions about the new 3" foam product. 

Call - 1 (416) 422-5487

Toll Free - 1 (888) 857-7790

email - info@roarockit.com